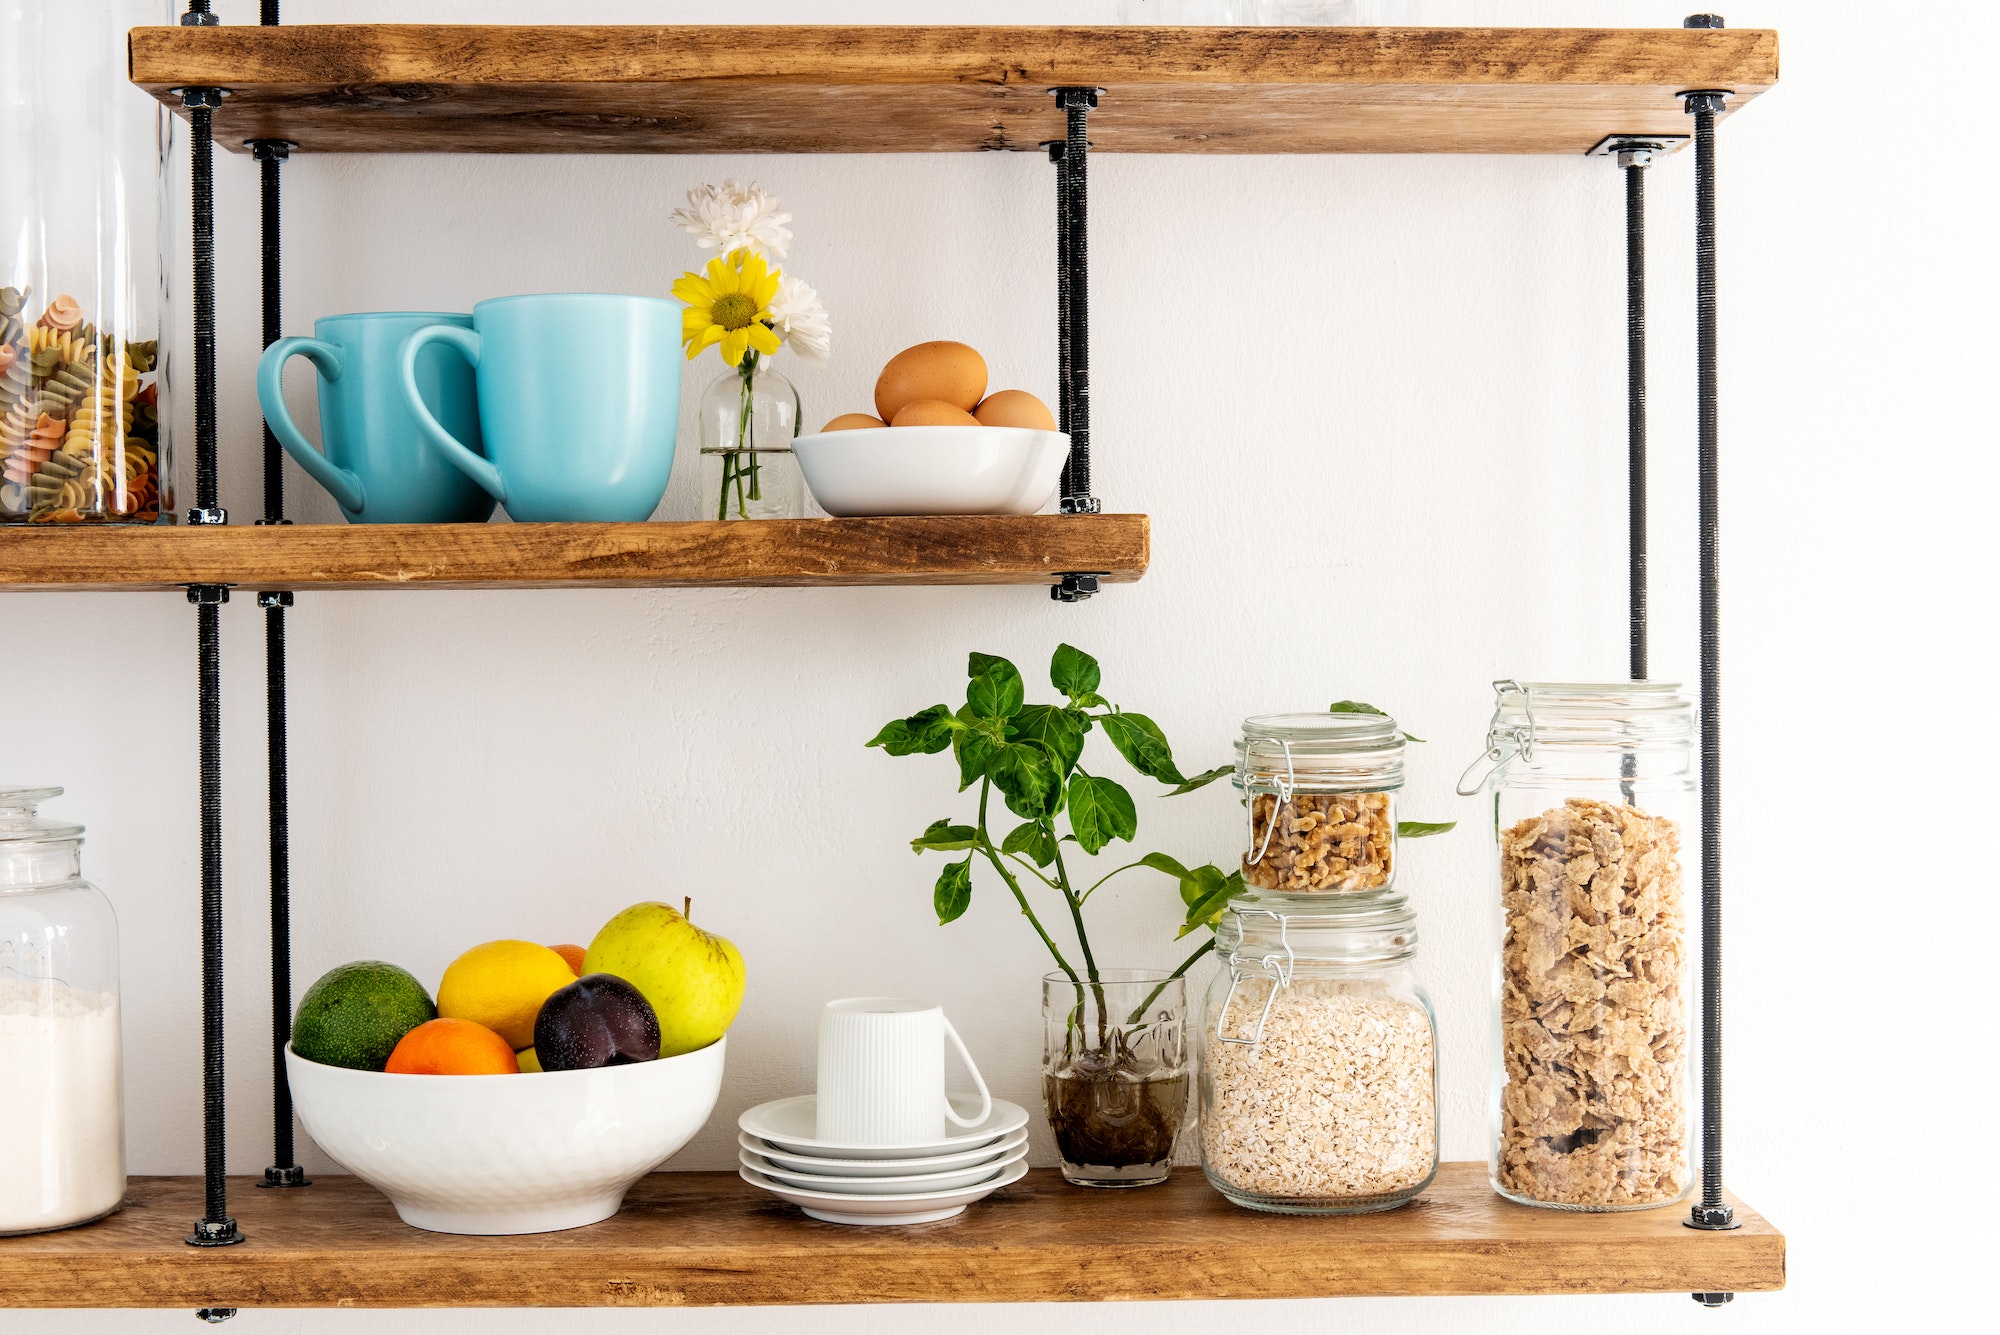
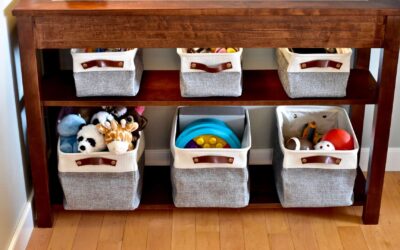
Are you tired of the same old shelves you see at your local shop? Are you looking for a unique, original, and customizable storage solution for your living room or any other room in your home? Look no further! In this article, we will guide you through the process of creating your very own modular shelving system that can not only add a touch of personal style to your interior design but also offer a functional and versatile storage solution for your space. We will cover everything from choosing the right materials, cutting and assembling your shelves, and even some design ideas to inspire your project. So, let’s get started!
Choosing the right materials for your modular shelving system
The first step to creating your custom shelving unit is selecting the right materials. It’s important to choose materials that are sturdy, durable, and visually appealing. Here are some popular options you might consider:
Plywood: This is a versatile and affordable option that can be easily cut and shaped to your desired dimensions. Birch plywood is a popular choice as it features a beautiful natural grain pattern and can be finished to match your existing décor.
Solid wood: If you’re looking for a more luxurious and sophisticated look, solid wood shelves are the way to go. They offer superior strength and durability, but they can also be more expensive and require additional finishing and sealing.
DIY plastic: For a more modern and minimalist look, consider using DIY plastic panels for your modular shelves. These are lightweight, easy to clean, and can be cut and assembled with ease. Look for panels made in the United States to ensure quality and safety standards are met.
Regardless of the material you choose, you’ll also need shelf brackets and appropriate hardware to secure your shelves to the wall. Be sure to select brackets that can support the weight of your chosen material and any items you plan to store on your shelves.
Cutting and assembling your modular shelves
Once you have your materials and brackets, it’s time to get to work on cutting and assembling your shelves. To ensure the perfect fit, follow these steps:
- Measure and mark: Start by measuring the space where you want to install your shelving unit. Consider factors such as room size, wall space, and the items you’ll be storing. Mark your desired dimensions on your chosen material, keeping in mind that each shelf should be cut to the same size for a uniform look.
- Cut your shelves: Using a circular saw or table saw, carefully cut your material to the marked dimensions. Be sure to wear protective gear such as goggles and gloves while cutting.
- Smooth the edges: After cutting, use sandpaper to smooth the edges of your shelves. This will help prevent injuries and ensure a clean, professional look.
- Finish your shelves: Depending on your chosen material, you may need to apply a finish to your shelves. This can include staining, painting or sealing. Be sure to follow the manufacturer’s instructions for your specific material.
- Install your brackets and shelves: With your shelves prepared, it’s time to install your brackets and shelves on the wall. Use a level to ensure your brackets are straight before securing them with appropriate hardware. Once your brackets are installed, simply slide your shelves into place and you’re good to go!
Design ideas for your modular shelving system
Now that you know how to create your own modular shelves, it’s time to get creative with your design. Here are some ideas to inspire your project:
- Room divider: If you have an open-concept space, use your modular shelving unit as a stylish room divider. This not only adds functional storage but also helps define different areas within your home.
- Wall unit: Transform an entire wall in your living room or office with a floor-to-ceiling modular shelving system. This is an excellent way to showcase your favorite books, art, and collectibles while maximizing your storage space.
- Cube storage: Create a more playful and dynamic look by designing your shelves in the form of cubes. Alternate the orientation of the cubes to add visual interest, and feel free to mix and match sizes for a more unique look.
- Stackable storage: If you have limited wall space, consider designing stackable shelves that can be easily rearranged to suit your needs. This is particularly useful for renters or anyone who frequently moves, as the modular design is easy to disassemble and transport.
Creating the perfect modular and original shelf
By following the steps outlined in this article, you can create a unique and functional modular shelving system that reflects your personal style and meets your storage needs. From choosing the right materials, cutting and assembling your shelves, and exploring various design ideas, the possibilities are endless. So, roll up your sleeves and get ready to create the perfect modular and original shelf that will not only enhance your living space but also serves as a testament to your DIY skills and creativity.


