
- 1 1. Refresh the walls with affordable paint
- 2 2. Upgrade fixtures for a modern look
- 3 3. Opt for peel-and-stick tiles, in the right place
- 4 4. Use mirrors to create the illusion of space
- 5 5. Upgrade the shower curtain or screen
- 6 6. Regrout and reseal before you replace anything
- 7 7. Refront the vanity instead of replacing it
- 8 8. Rethink the lighting, inside the safety rules
- 9 9. Fix the ventilation and the storage
- 10 10. Add greenery for a fresh touch
- 11 Success!
Bathroom
budget bathroom renovation
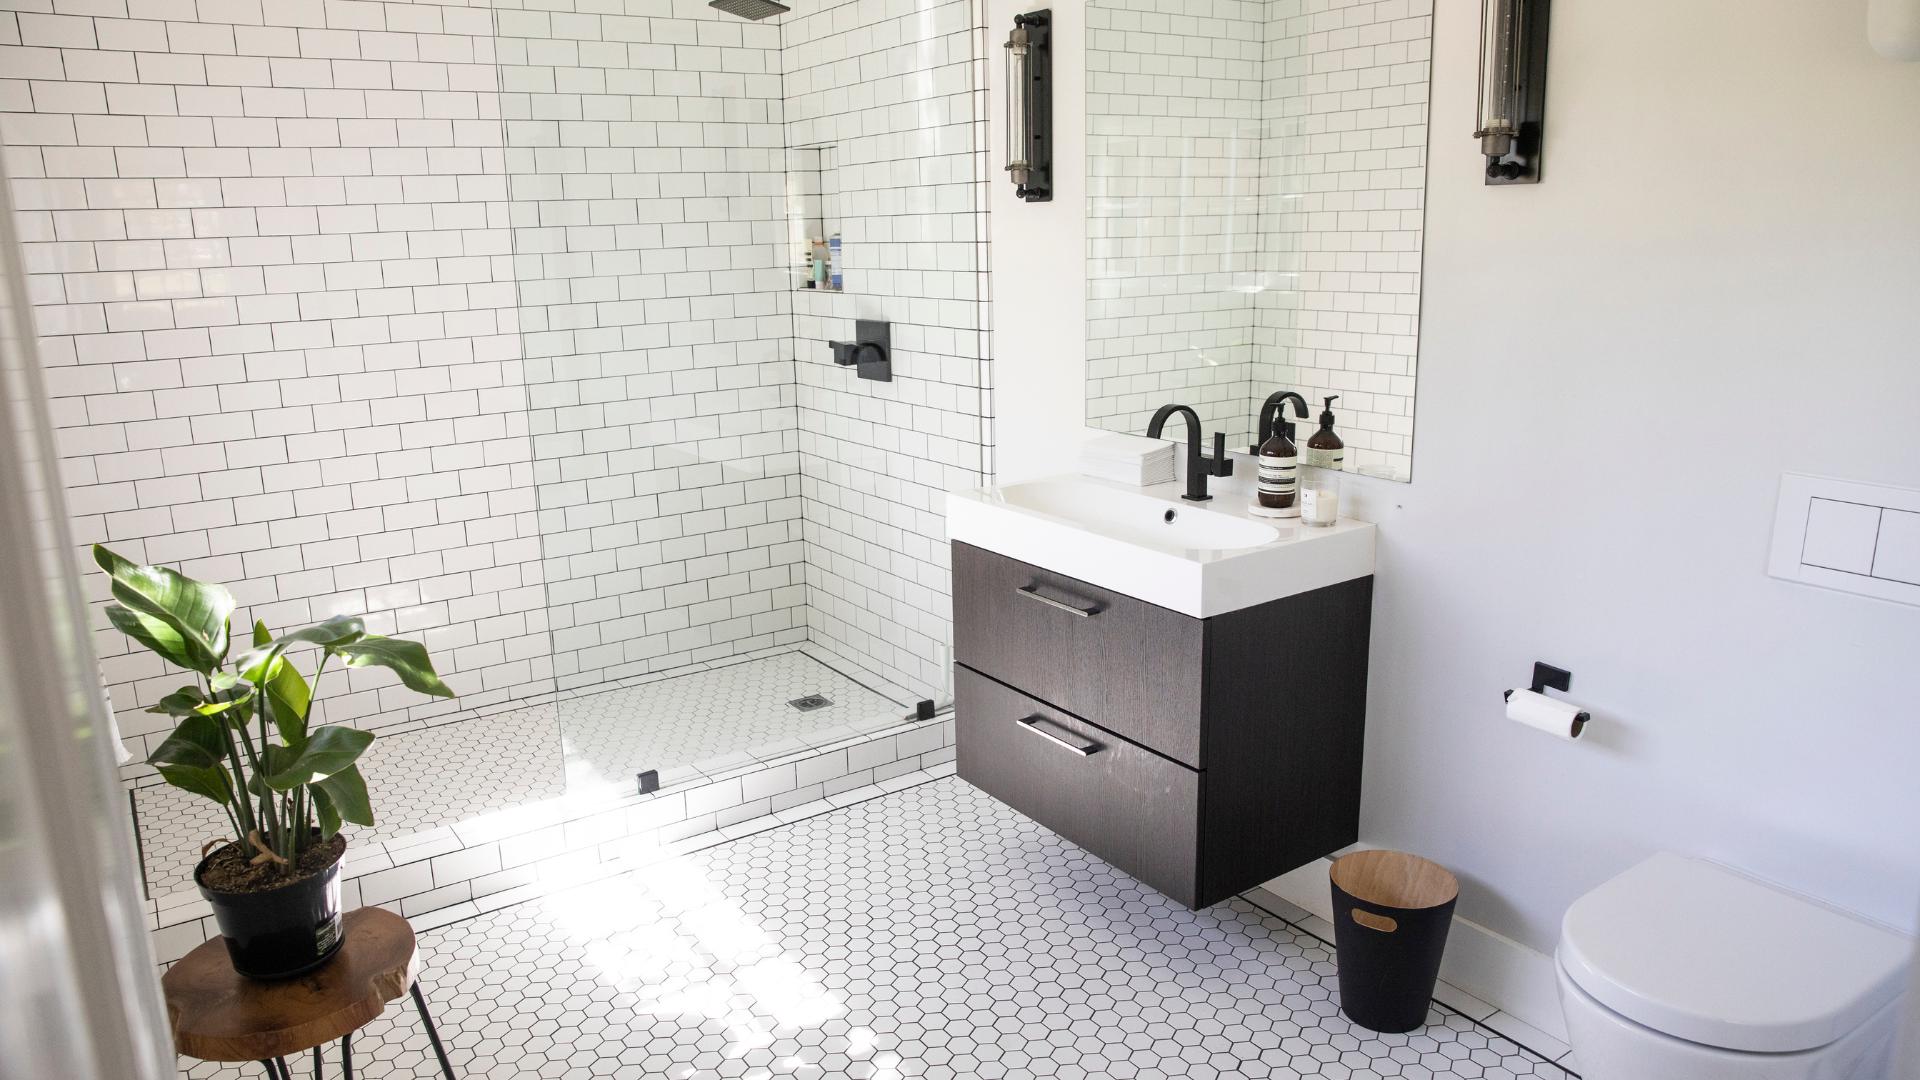
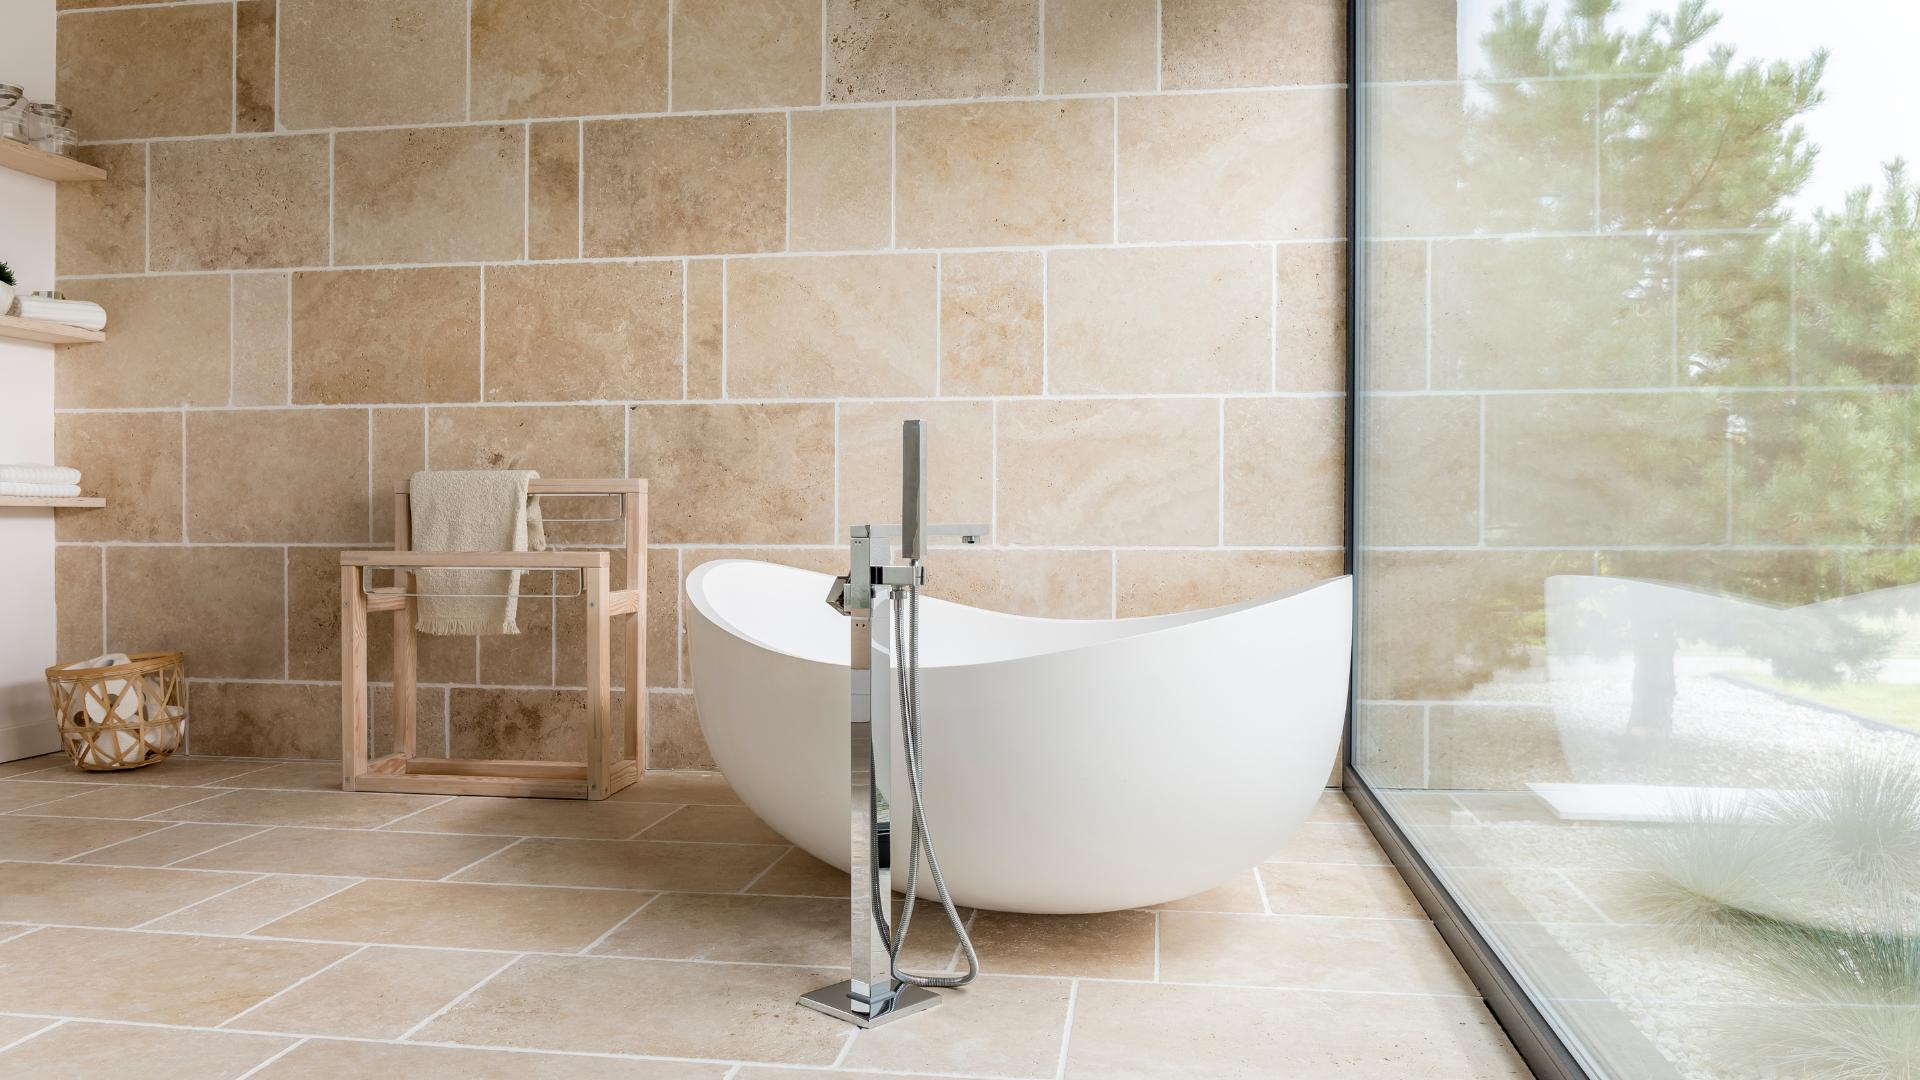
Renovating a bathroom on a small budget is mostly a sequencing problem. The expensive version of this job moves the plumbing. The affordable version leaves every pipe exactly where it is and spends the money on the surfaces you see and touch every morning.
One piece of French small print worth more than any trick on this list: when a tradesperson carries out improvement or renovation work in a home completed more than two years ago, the invoice is normally billed at the reduced VAT rate of 10 per cent rather than 20, and work that improves energy performance can fall to 5.5 per cent.
In brief
- Keep the plumbing where it is and the budget stays sane.
- Regrouting and resealing beats replacing, every time.
- Peel-and-stick tiles are a five-year finish, not a permanent one.
- Electrics near water follow safety volumes and are not a DIY subject.
None of what follows requires a builder, a skip or a week without a shower. Most of it fits into two weekends.
1. Refresh the walls with affordable paint

Paint is the cheapest square metre of transformation you will ever buy, and in a bathroom it is also the finish most likely to fail if you rush it. Ten things worth knowing before the tin is open.
Buy paint made for wet rooms
Ordinary matt emulsion will not survive a room that swings from cold to steaming twice a day. Look for a product sold specifically for kitchens and bathrooms. Under the European classification EN 13300, a wet-scrub rating of class 1 or 2 is what you want on a wall that gets wiped down.
Read the emissions label, not only the colour
Paints and varnishes sold in France carry an indoor air emissions grade running from A+ for very low emissions down to C, compulsory since 1 September 2013. A bathroom is small and often badly ventilated, which means you stand inside the drying process. A+ costs very little more.
Prepare far more than you paint
Soap film, shampoo residue and old condensation are the reason bathroom paint peels. Wash the walls with sugar soap, rinse, fill the holes, sand the filler flat and spot-prime it. Preparation is genuinely most of the job and it is the part nobody photographs.
Prime anything previously glossed
Old woodwork and radiator pipes in a bathroom are usually coated in solvent gloss that has gone hard and slippery. Sand the shine off and use an adhesion primer. Painting straight onto it looks fine for a fortnight and then peels off in sheets.
Do the ceiling, and do it first
The ceiling is where condensation lands, so it discolours before the walls do. Use the same moisture-resistant product a shade lighter than the walls, and do it before anything else so the inevitable drips land on a wall you have not painted yet.
Choose the colour for the light you actually have
Pale colours make a small bathroom feel larger and a dark one can look genuinely luxurious, but both depend on the window. Tape a painted card to the wall and look at it at eight in the morning, at midday and under the artificial light at night before committing.
Paint tiles only if you accept the trade
Specialist tile paint over a tile primer works well on a splashback or on tiled walls away from the water. Inside a shower enclosure it will not last, whatever the tin says. Treat it as a way of buying five more years from tiles you dislike, not as a permanent finish.
Mask properly and pull the tape warm
Low-tack decorator’s tape on the silicone joints, the shower screen and the taps, pressed down hard along the edge. Remove it while the paint is still slightly soft rather than the next morning, and the line stays crisp instead of tearing.
Calculate the quantity and buy it in one go
Coverage per litre is printed on every tin. Measure the walls, deduct the tiled areas, and buy the whole job in a single batch so the colour matches. Running out two thirds of the way along a wall on a Sunday is a lesson you only need once.
Ventilate while it dries and after
Window open, extractor running, door propped. Water-based paint is touch dry quickly but the film keeps hardening for days, and a first hot shower too early is what leaves a permanently tacky patch above the bath.
Two coats and one weekend change this room more than anything else on the list, for roughly the price of a restaurant meal for two.
Paint is also the one item here where the brand genuinely changes the result, which I went into at length when comparing Dulux and Benjamin Moore interior paint.
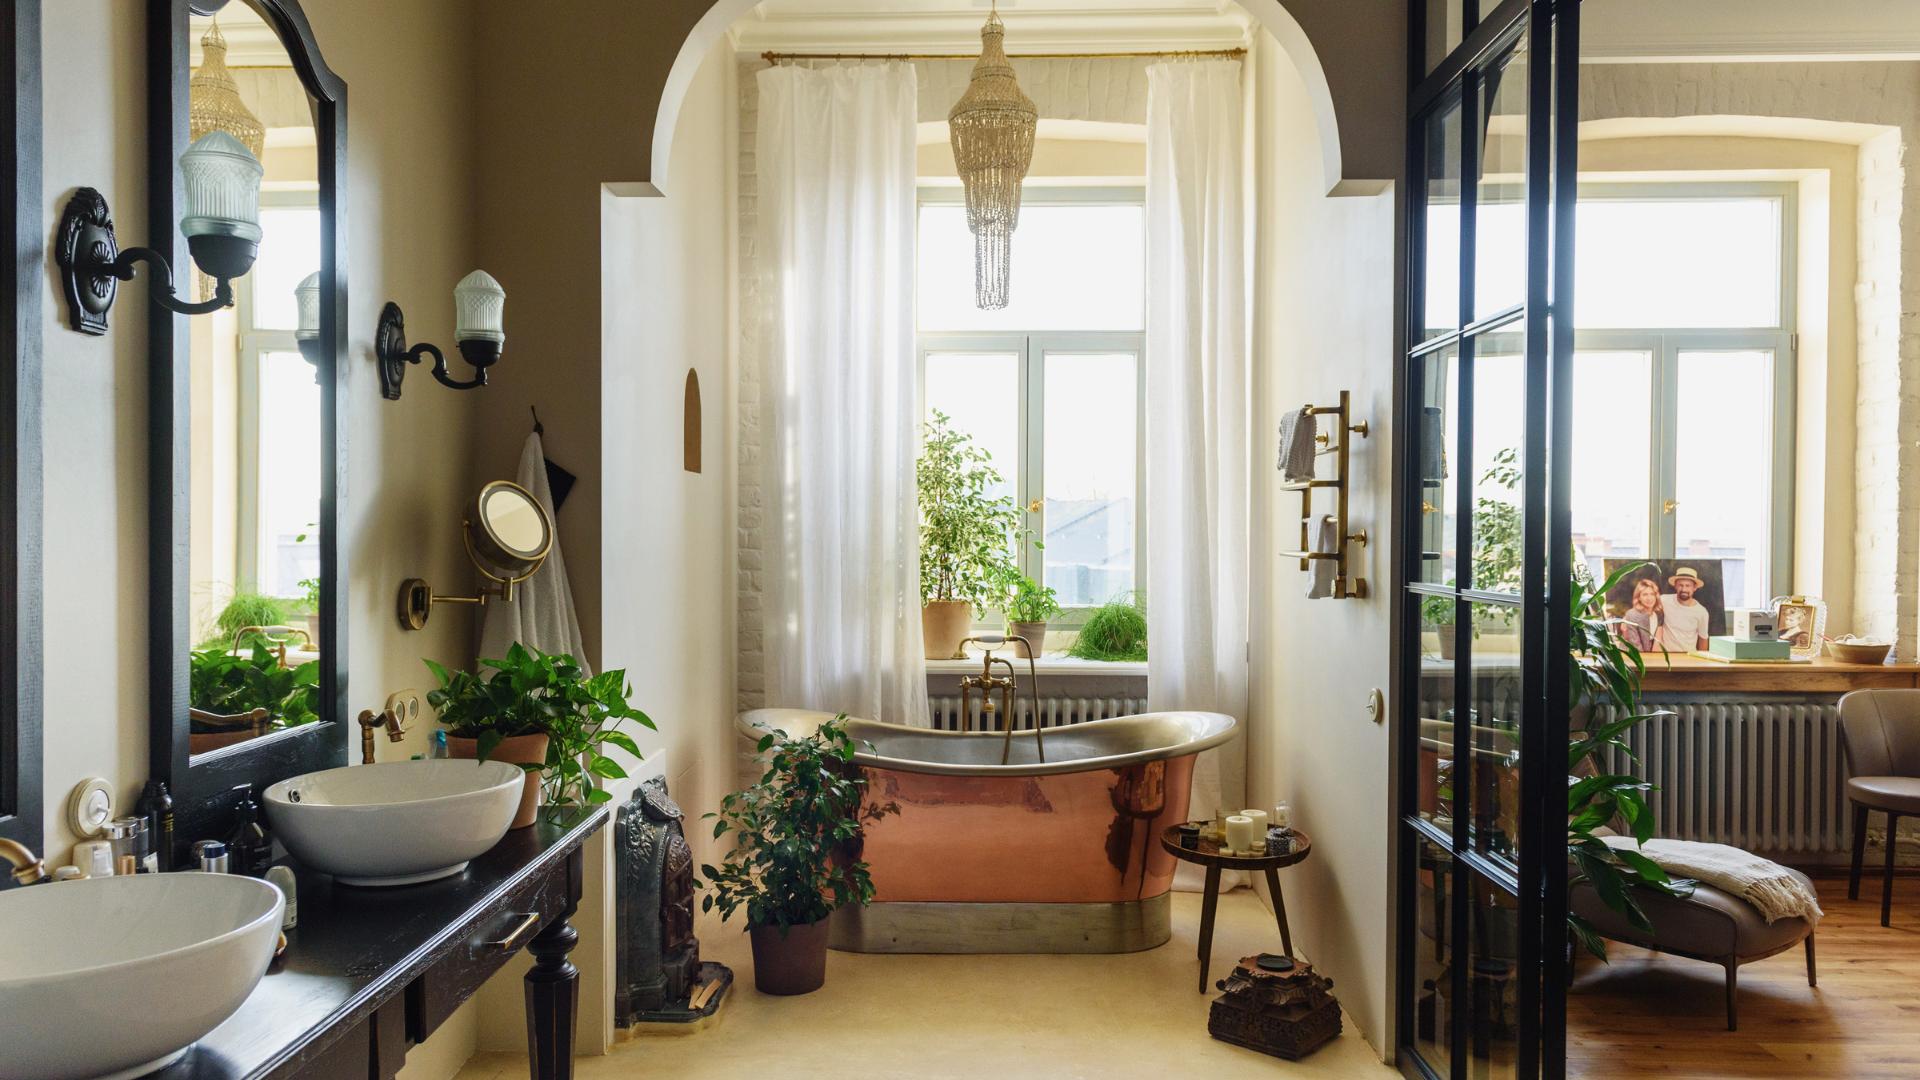
2. Upgrade fixtures for a modern look
Swapping the metalwork is the cheapest way to change the decade a bathroom appears to belong to.
The tap reads first, because it sits at eye level over a white basin with nothing to distract from it. Brushed nickel and matt black both age better than chrome, which shows every single water spot on the hard water most of this coast runs on.
Replacing a basin tap is a real DIY job, unlike anything electrical in this room. Close the isolating valves underneath, put a bowl and a towel under the trap, and buy new flexible hoses at the same time as the tap. Reusing twenty-year-old hoses is how a cheap upgrade turns into a ceiling repair for the neighbour below.
The shower head is the second easy win, and a wide rain head costs a fraction of what it did five years ago. Look at the flow rate as well as the diameter: a head that uses less water is no sacrifice in a region where summer restrictions are routine, and it keeps a small cylinder hot for longer.
Then the small metal. Towel rail, hooks, handles, the toilet roll holder, all in one finish, all bought on the same afternoon. It is the least glamorous forty euros in this article and the one that makes a room look designed rather than accumulated.


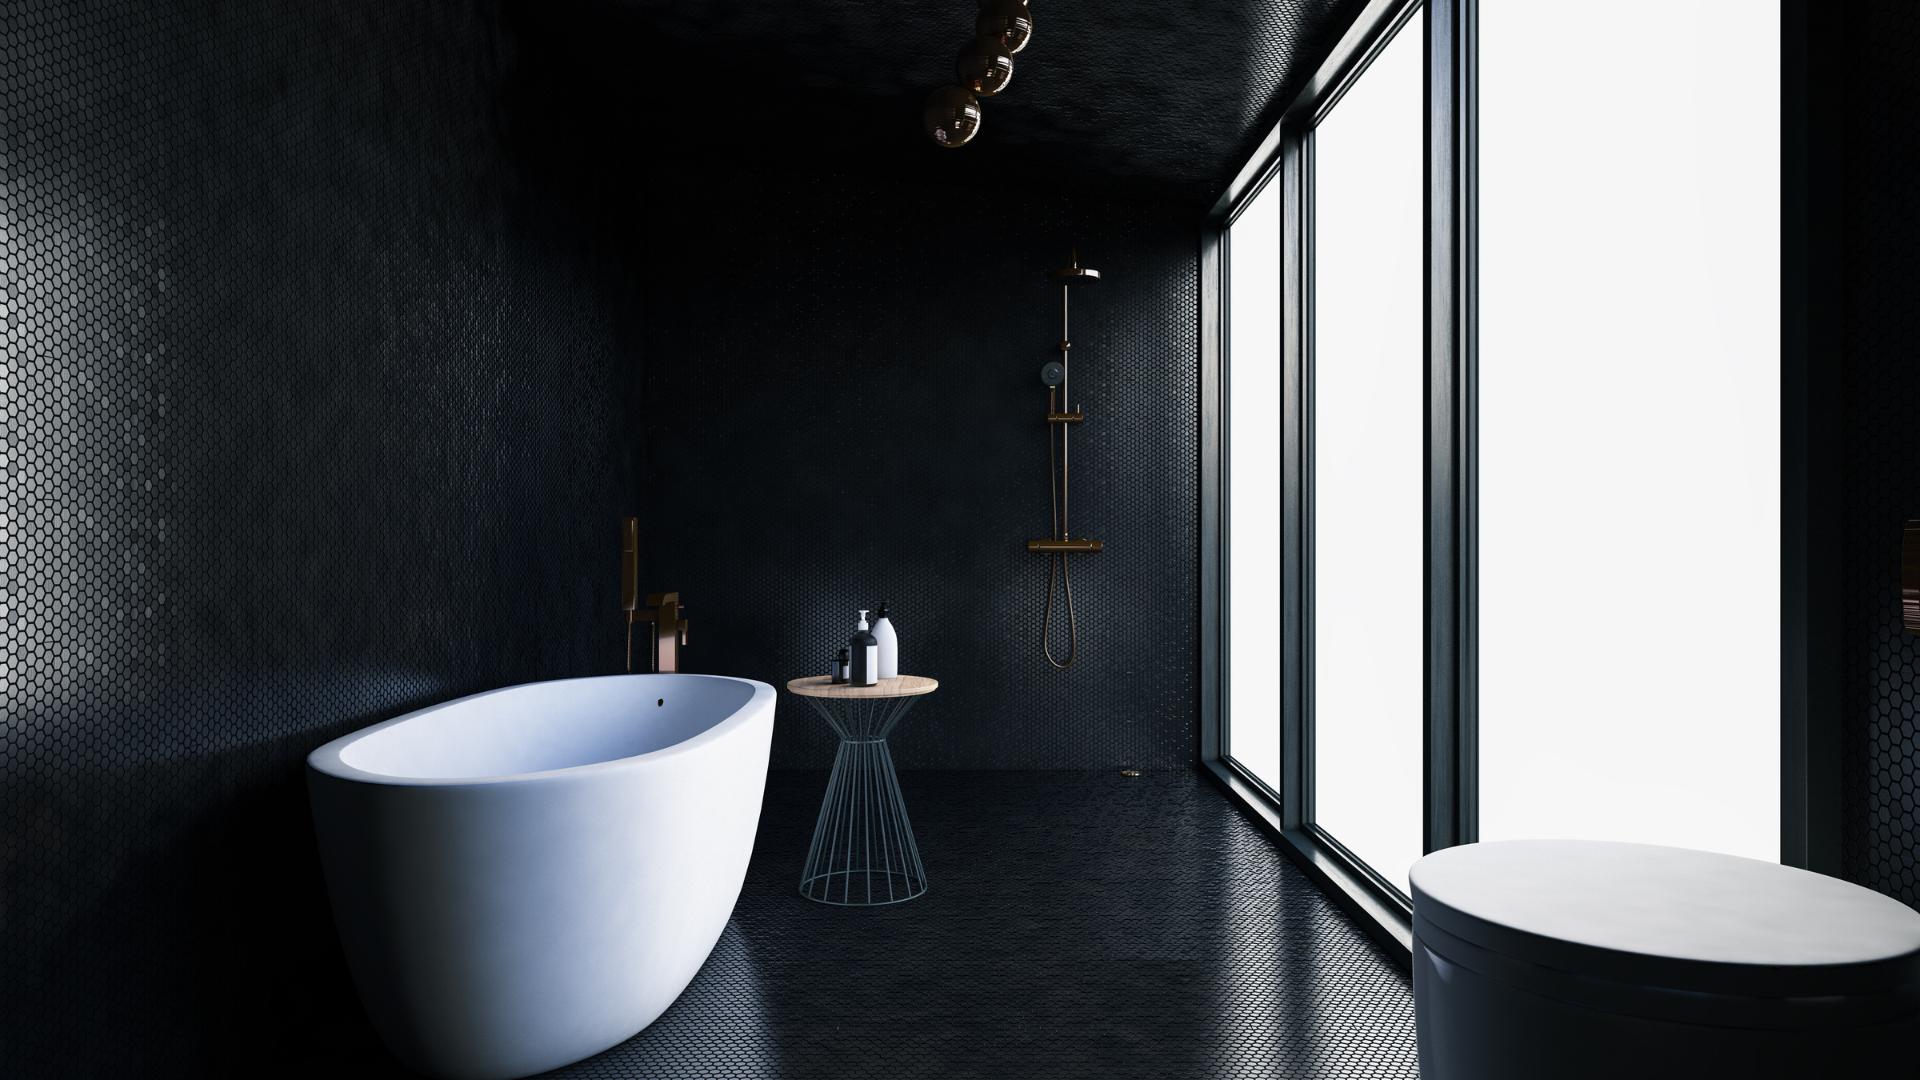
3. Opt for peel-and-stick tiles, in the right place
Peel-and-stick tiles are an excellent idea in the right place and a waste of money in the wrong one, and the line between the two is water.
Behind a basin, on a wall away from the shower, on a dry stretch of floor, they do exactly what the packet promises. Clean the surface, cut to size with a craft knife and a steel rule, peel, press. No grout, no adhesive, no dust, and the whole thing done in an evening.
Inside a shower enclosure, or anywhere that gets standing water and daily steam, they lift at the edges. Not straight away, which is the trap. Six months in, one corner curls, water gets in behind it, and you have created a problem you did not previously have.
Two practical points decide the outcome. Surface preparation is everything, because nothing sticks to a greasy, dusty or textured wall, and existing tiles need degreasing and a light key on the glaze. And they come off again, which makes them the obvious answer in a rented flat, although they can take poorly bonded paint with them on the way out. Think of them as a five-year finish you enjoy rather than a permanent one you regret.
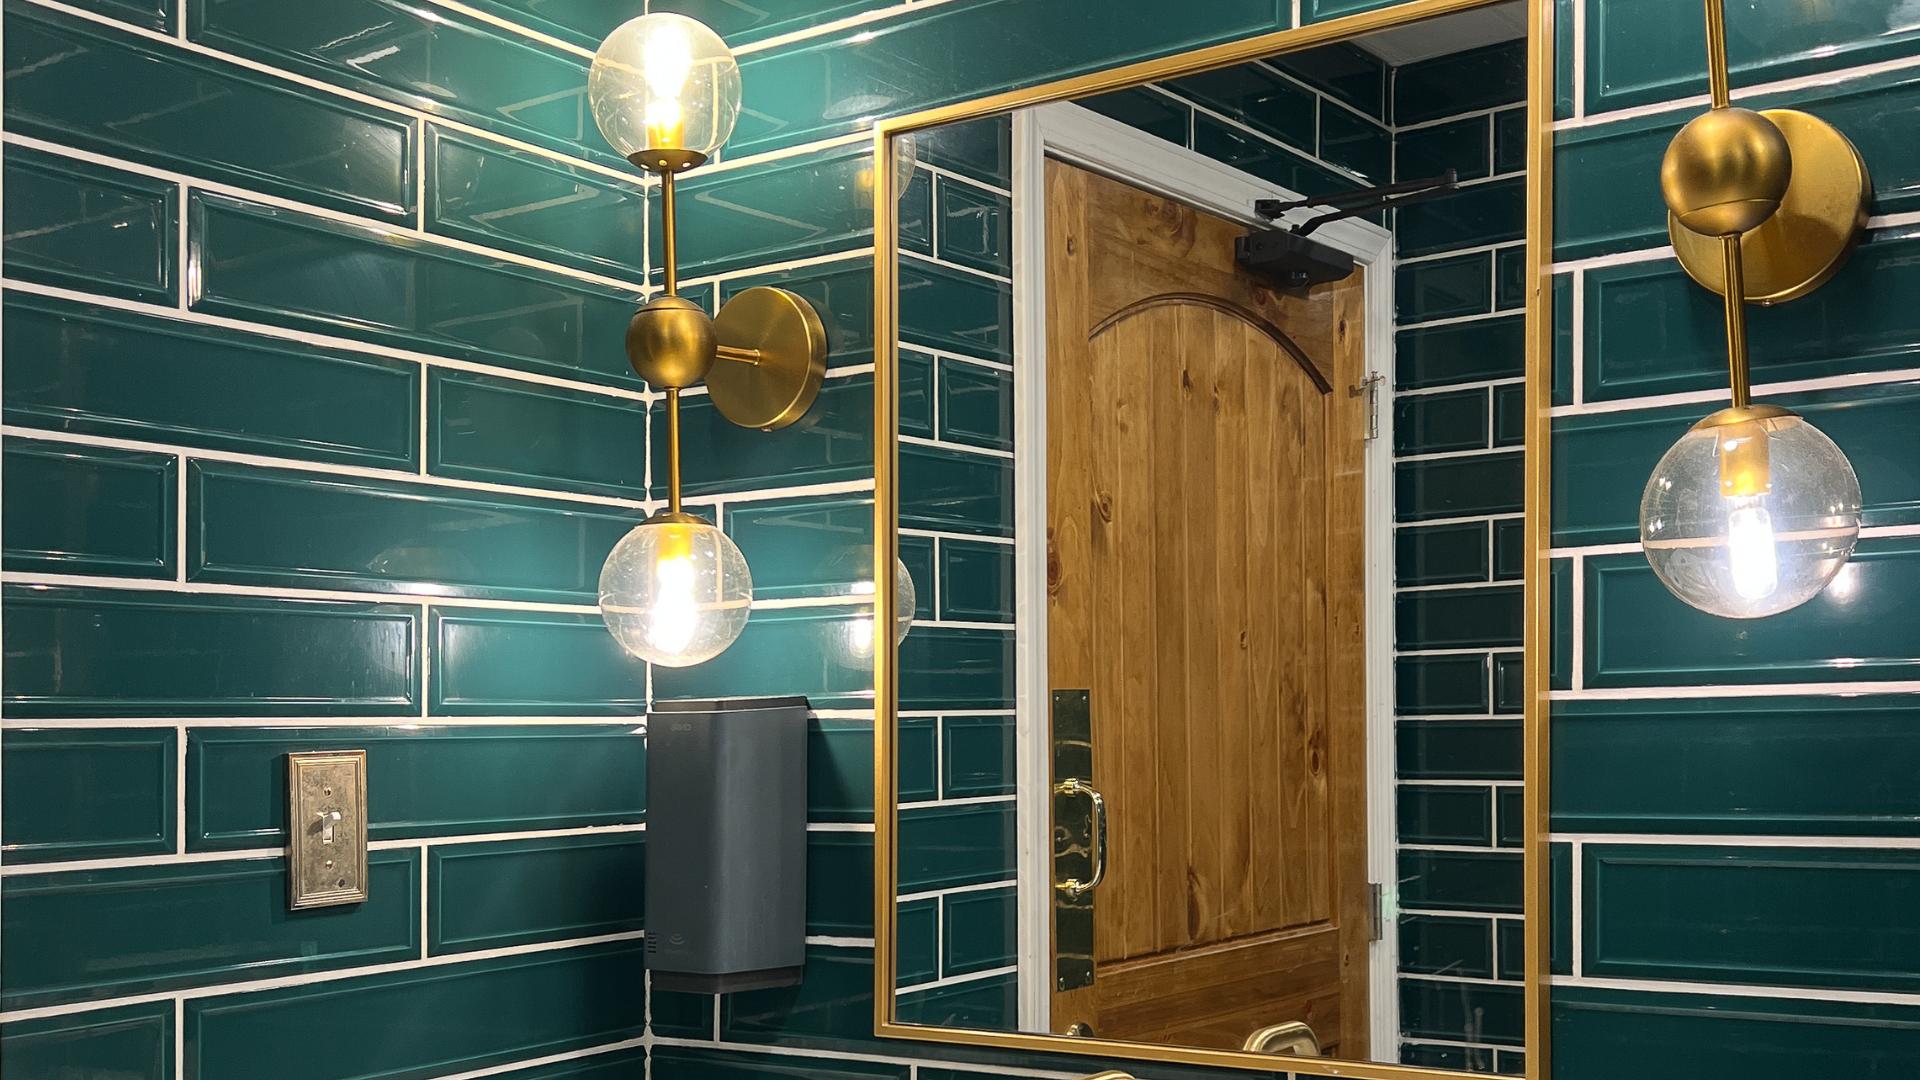
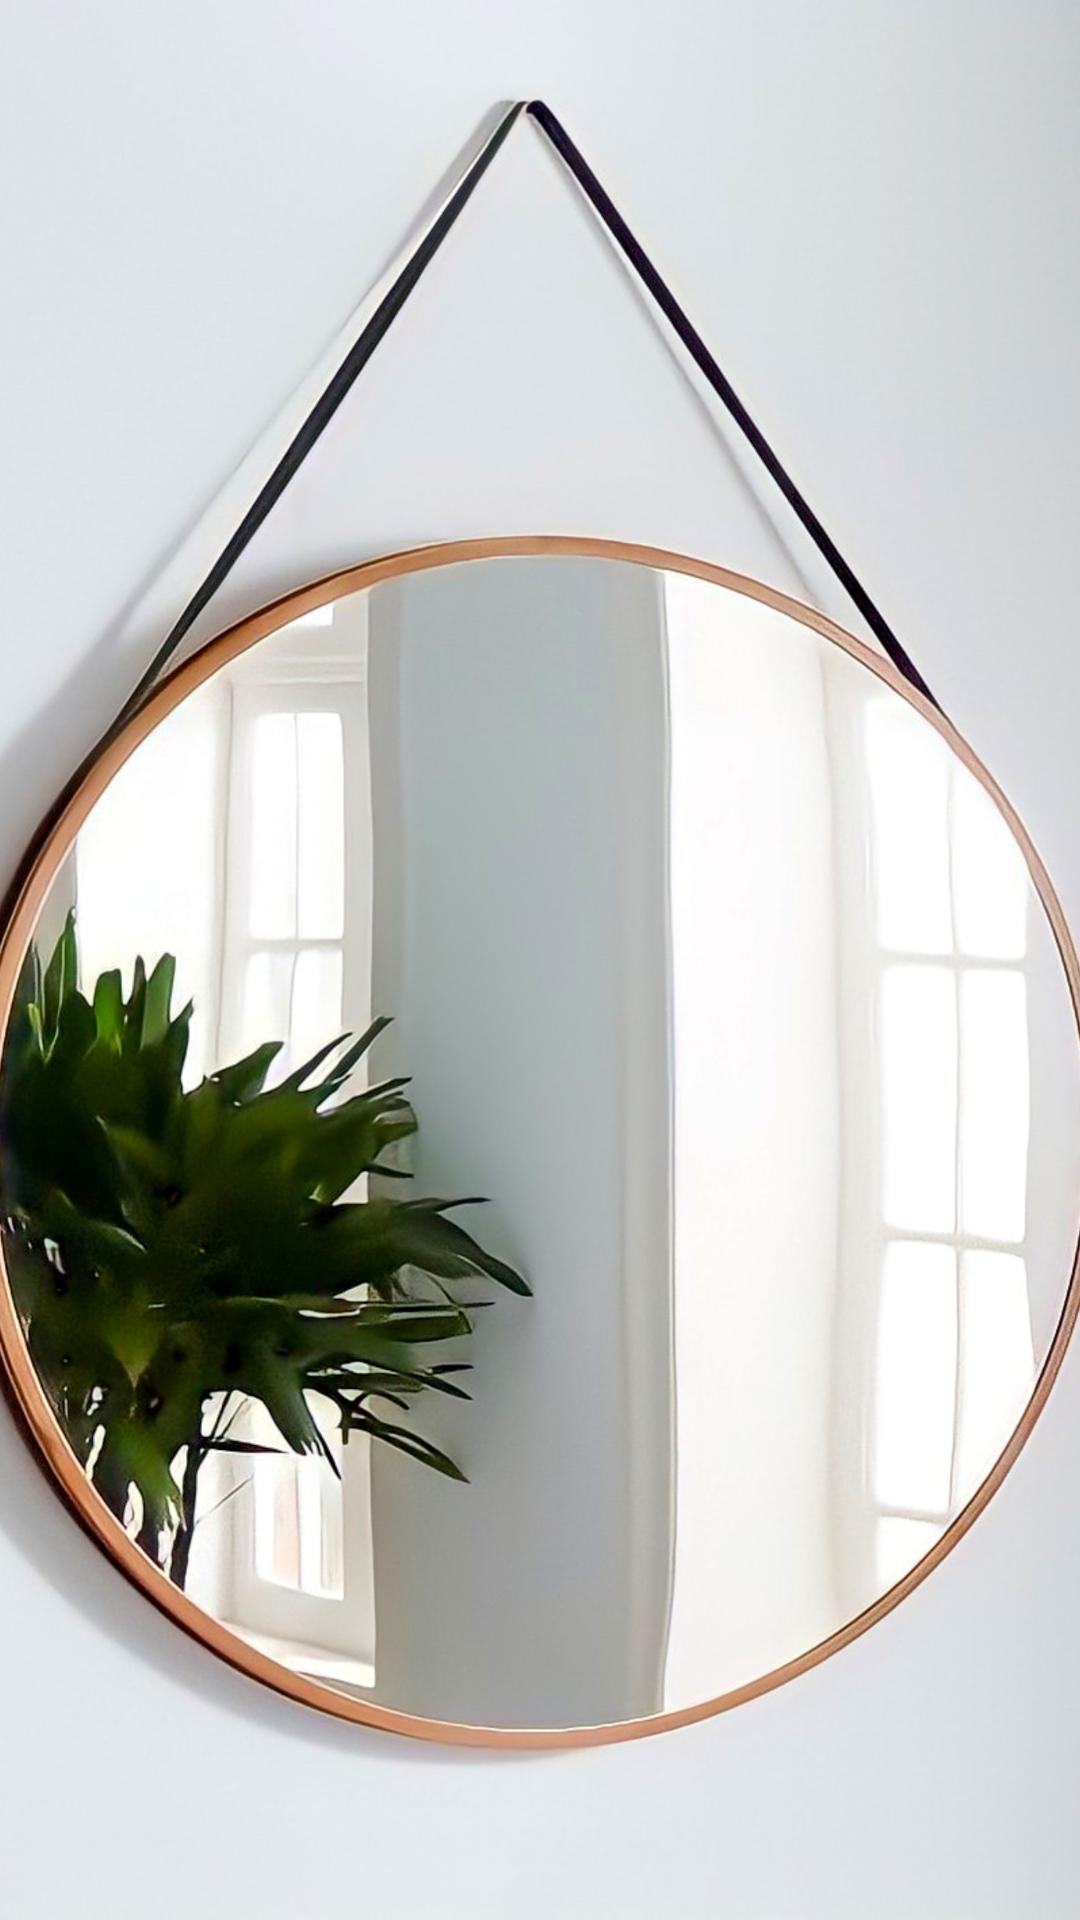
4. Use mirrors to create the illusion of space
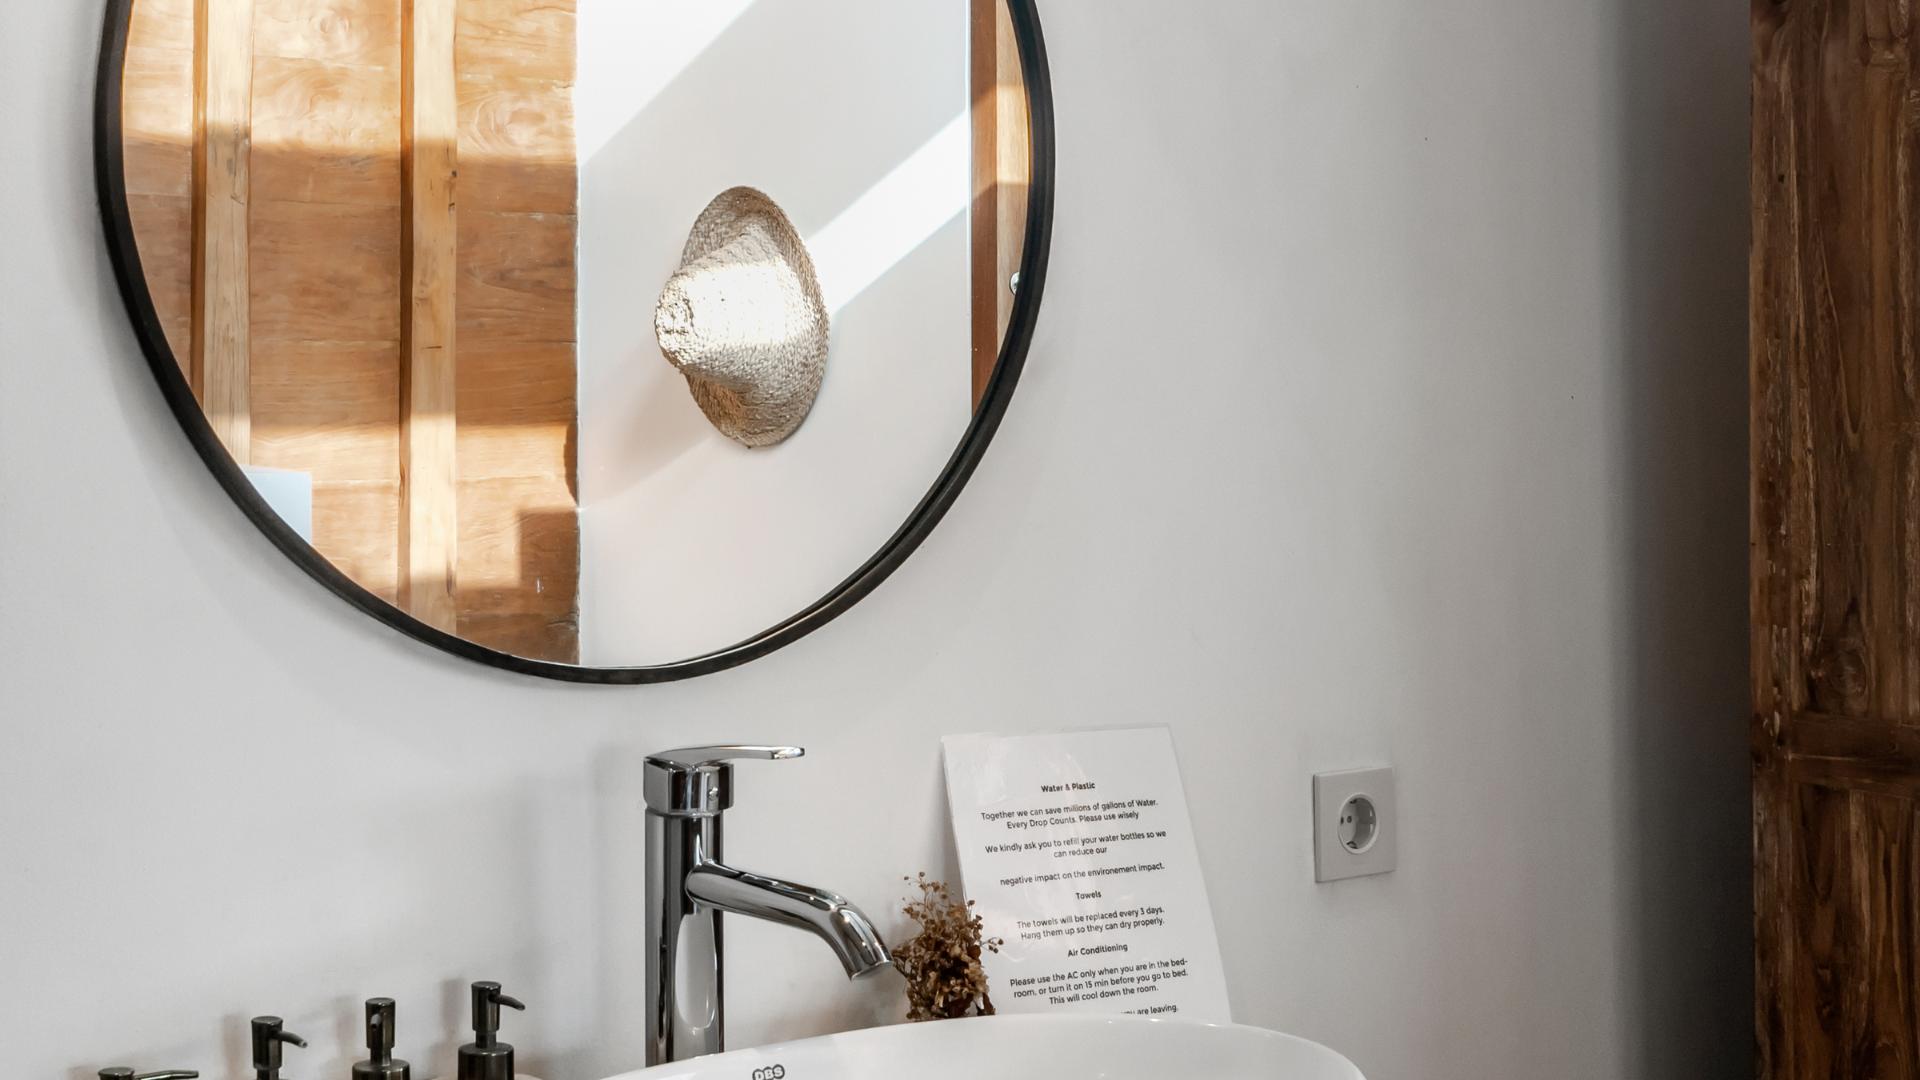
A mirror is the only decorating object that adds light and space at the same time, which is why it belongs near the top of a small bathroom budget rather than at the bottom.
Three placements do most of the work:
- Over the basin, as wide as the wall allows. The common mistake is sizing the mirror to the basin instead of to the wall, which quietly makes the whole room look smaller.
- Facing the window. On this coast that doubles a genuinely good light source, and it borrows whatever view you have.
- Floor to ceiling on one narrow wall, the trick that makes a corridor-shaped bathroom read as a square one.
Cheap routes to all three: a mirrored cabinet door gives storage and reflection in a single object; a plain frameless mirror plus a length of moulding painted the same colour as the walls looks bespoke for very little; and the brocantes along the coast are full of old framed mirrors that need nothing but a clean.
One caution that rarely gets mentioned. Fix a heavy mirror into something structural rather than into plasterboard with the anchors that came in the box, and keep it out of the direct spray of the shower, where the silvering behind the glass eventually blackens along the edges.
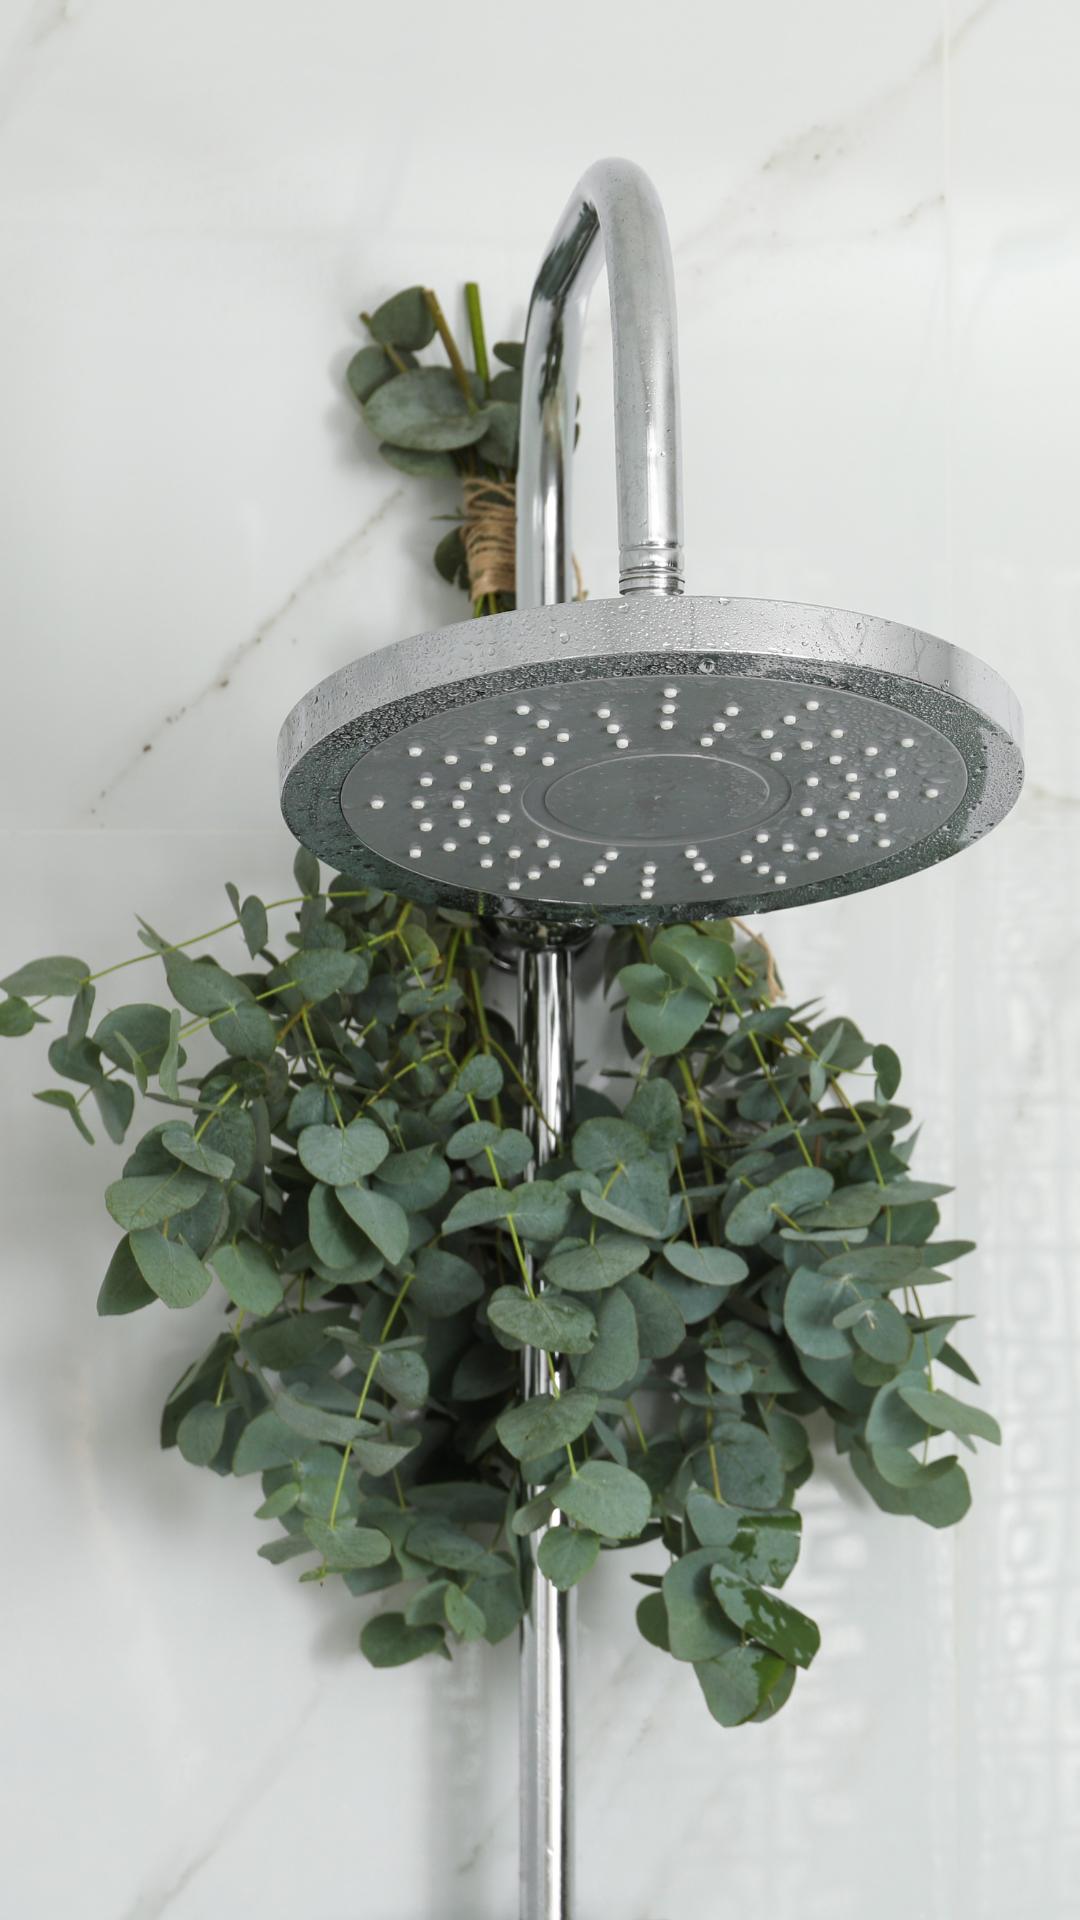
5. Upgrade the shower curtain or screen
This is the one decision here where the cheap option is not automatically the worse one.
A curtain costs a fraction of a screen, takes five minutes and can be changed the moment you tire of it. It is also the single item most likely to make a bathroom look neglected, because fabric in a wet room grows mould along the hem and almost nobody replaces it often enough. Buy heavier than feels necessary, wash it, and change the liner once a year without sentiment.
A glass screen looks better, cleans faster and lasts for years, but it is a fixed installation, it costs several times as much, and it needs a bath or tray edge square enough to seal against. In a rented flat it is usually a non-starter.
| What you are weighing | Curtain | Screen |
|---|---|---|
| Budget | Very low | Several times higher, plus fitting |
| Changing your mind later | Trivial | A job, and a permanent one |
| Small room | Flexible, folds away | Looks more open, takes a fixed swing |
| Upkeep | Wash and replace the liner yearly | Squeegee after use, descale on hard water |
Middle ground, in the order I like them: change only the rail for a curved one, which buys real elbow room over a small bath for about the price of the curtain itself; hang a plain outer curtain over a cheap liner so the washable part is the invisible part; or strip and repaint a tired screen frame with a metal primer instead of replacing the whole thing.
6. Regrout and reseal before you replace anything
Most tiled bathrooms that look finished are not. The joints have gone grey, the silicone has gone brown, and the tiles themselves are perfectly good.
Raking out old grout with a cheap grout saw and refilling it is slow, dull work and the most dramatic before and after on this entire list per euro spent. The silicone bead where the bath meets the tiles is the same story: cut it out completely, clean the channel with alcohol, let it dry, then lay a new bead in one continuous pass using a sanitary silicone with a fungicide in it. On the hard water most of this region runs on, descaling the screen and the taps at the same time finishes the effect.
Cost: one weekend and roughly the price of two cinema tickets.
7. Refront the vanity instead of replacing it
A vanity unit is a box with doors on it, and the box is almost never what is wrong.
New doors and handles, or the existing ones sanded and repainted with an adhesion primer and a hard-wearing satin, get you nearly all of the visual benefit for a small fraction of the money. They also avoid touching the waste pipe, which is where a simple job becomes a plumbing job. The one exception is a chipboard carcass that has swollen with water at the base: swollen chipboard never recovers and that unit has to go.
Worth checking before you commit to a wall-hung replacement. It makes a small floor look considerably bigger, but it has to be fixed into something that will genuinely hold it, and a stud partition may not.
8. Rethink the lighting, inside the safety rules
Light changes a bathroom more than tiling does, and this is also the point on the list where I will tell you to stop and pay somebody.
French electrical practice divides a bathroom into safety volumes around the bath and shower under the standard NF C 15-100, and each volume limits what may be installed in it. Volume 0, inside the bath or the shower tray itself, calls for equipment rated IPX7 and supplied at 12 V safety extra-low voltage. Volume 1 calls for at least IPX5 and volume 2 for at least IPX4, and any transformer has to sit outside the volumes altogether. This is not administrative fussiness. It is a room where people stand wet and barefoot.
What that leaves for an enthusiastic amateur: changing a bulb, changing a shade on a fitting that is already in a compliant position, and adding a plug-in lamp well outside the volumes. A new lighting point, a new cable, or anything close to the shower belongs to a qualified electrician, and relative to the rest of the room it costs very little. For the biggest visual return within those rules, ask for warm light at face height on either side of the mirror rather than one ceiling fitting behind your head.
9. Fix the ventilation and the storage
These two unglamorous items decide whether everything above still looks good in three years.
Ventilation first. Every mould patch, every peeling paint edge and every blackened silicone joint begins as moist air with nowhere to go. If there is an extractor, clean the grille and check it actually holds a sheet of paper against it. If there is only a window, get into the habit of opening it for ten minutes after a shower. It sounds trivial and it is the difference between repainting in ten years and repainting in two.
Storage second, because clutter is what makes a small bathroom feel small. A shelf above the door, a slim unit in the dead space beside the basin, closed baskets rather than open ones, and a household rule that nothing lives on the rim of the bath. None of it costs much, and a tidy budget bathroom both photographs and feels better than an expensive cluttered one.
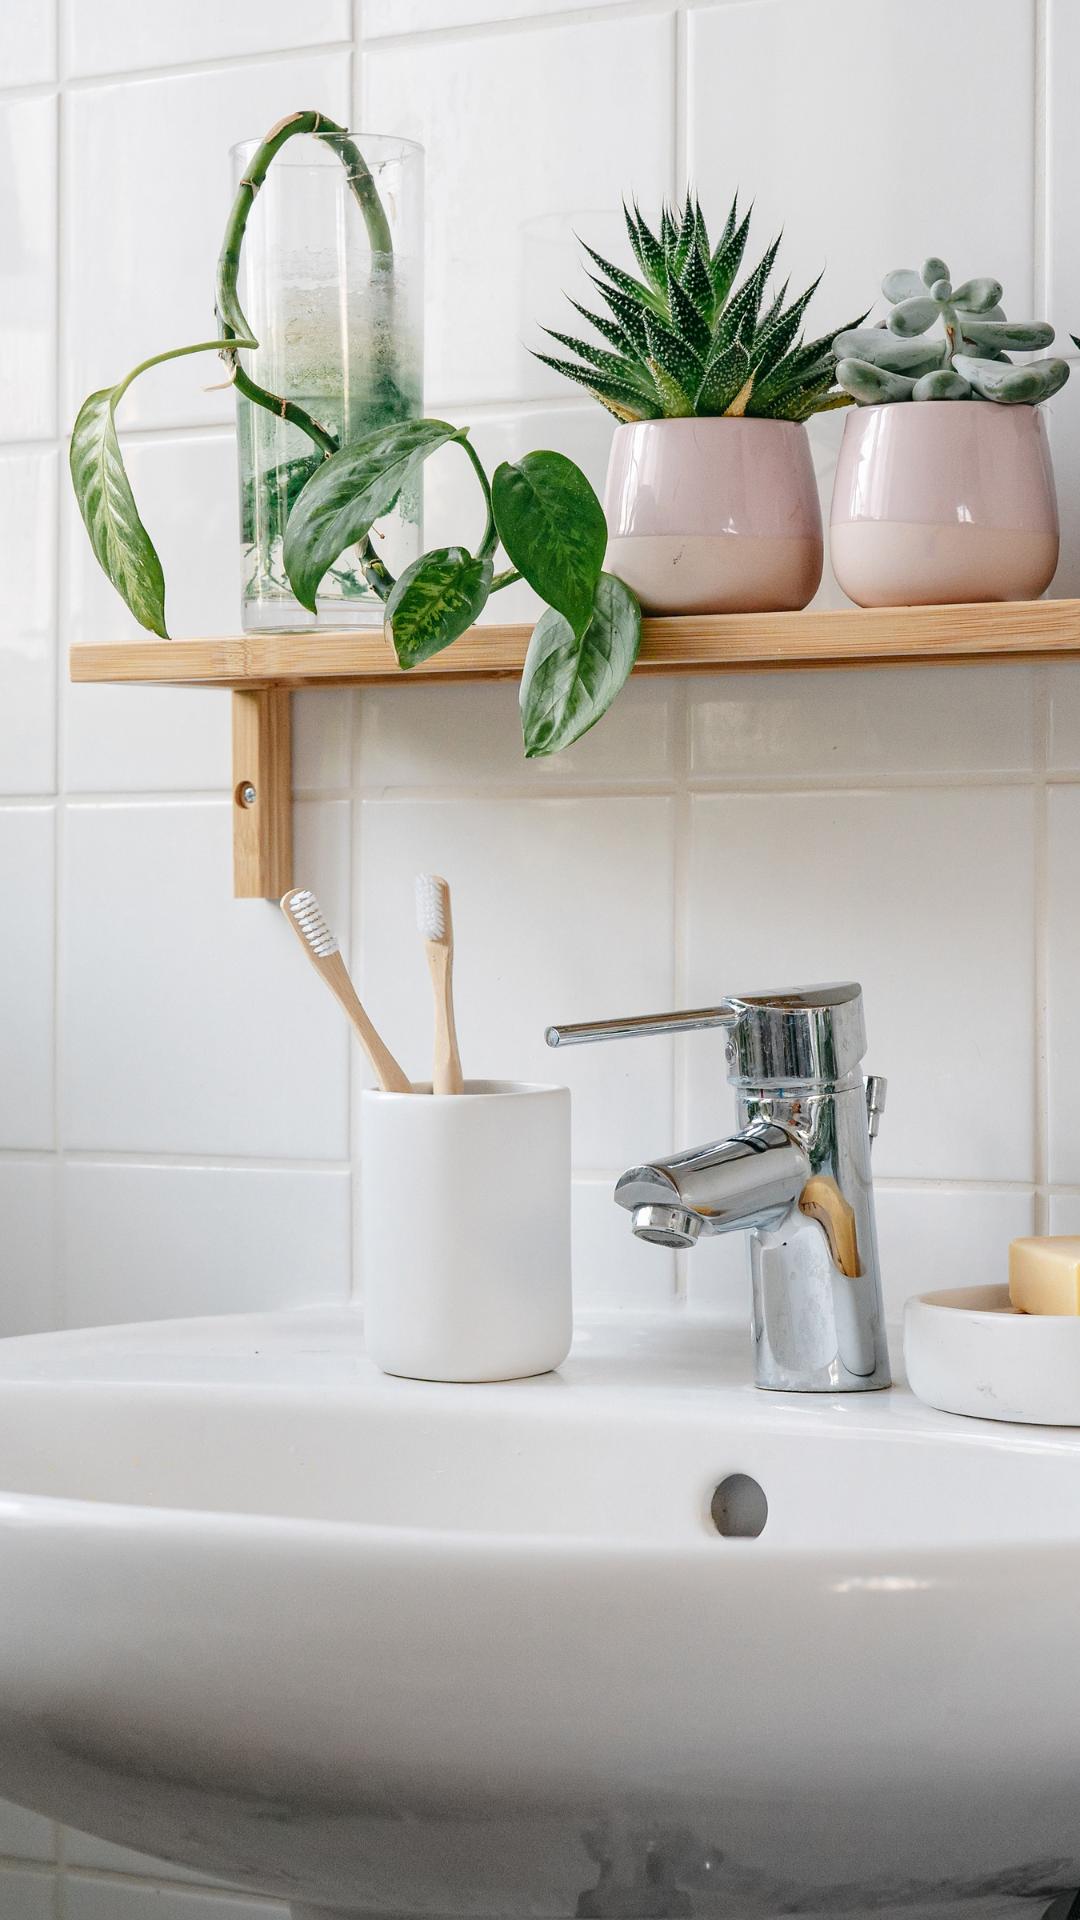
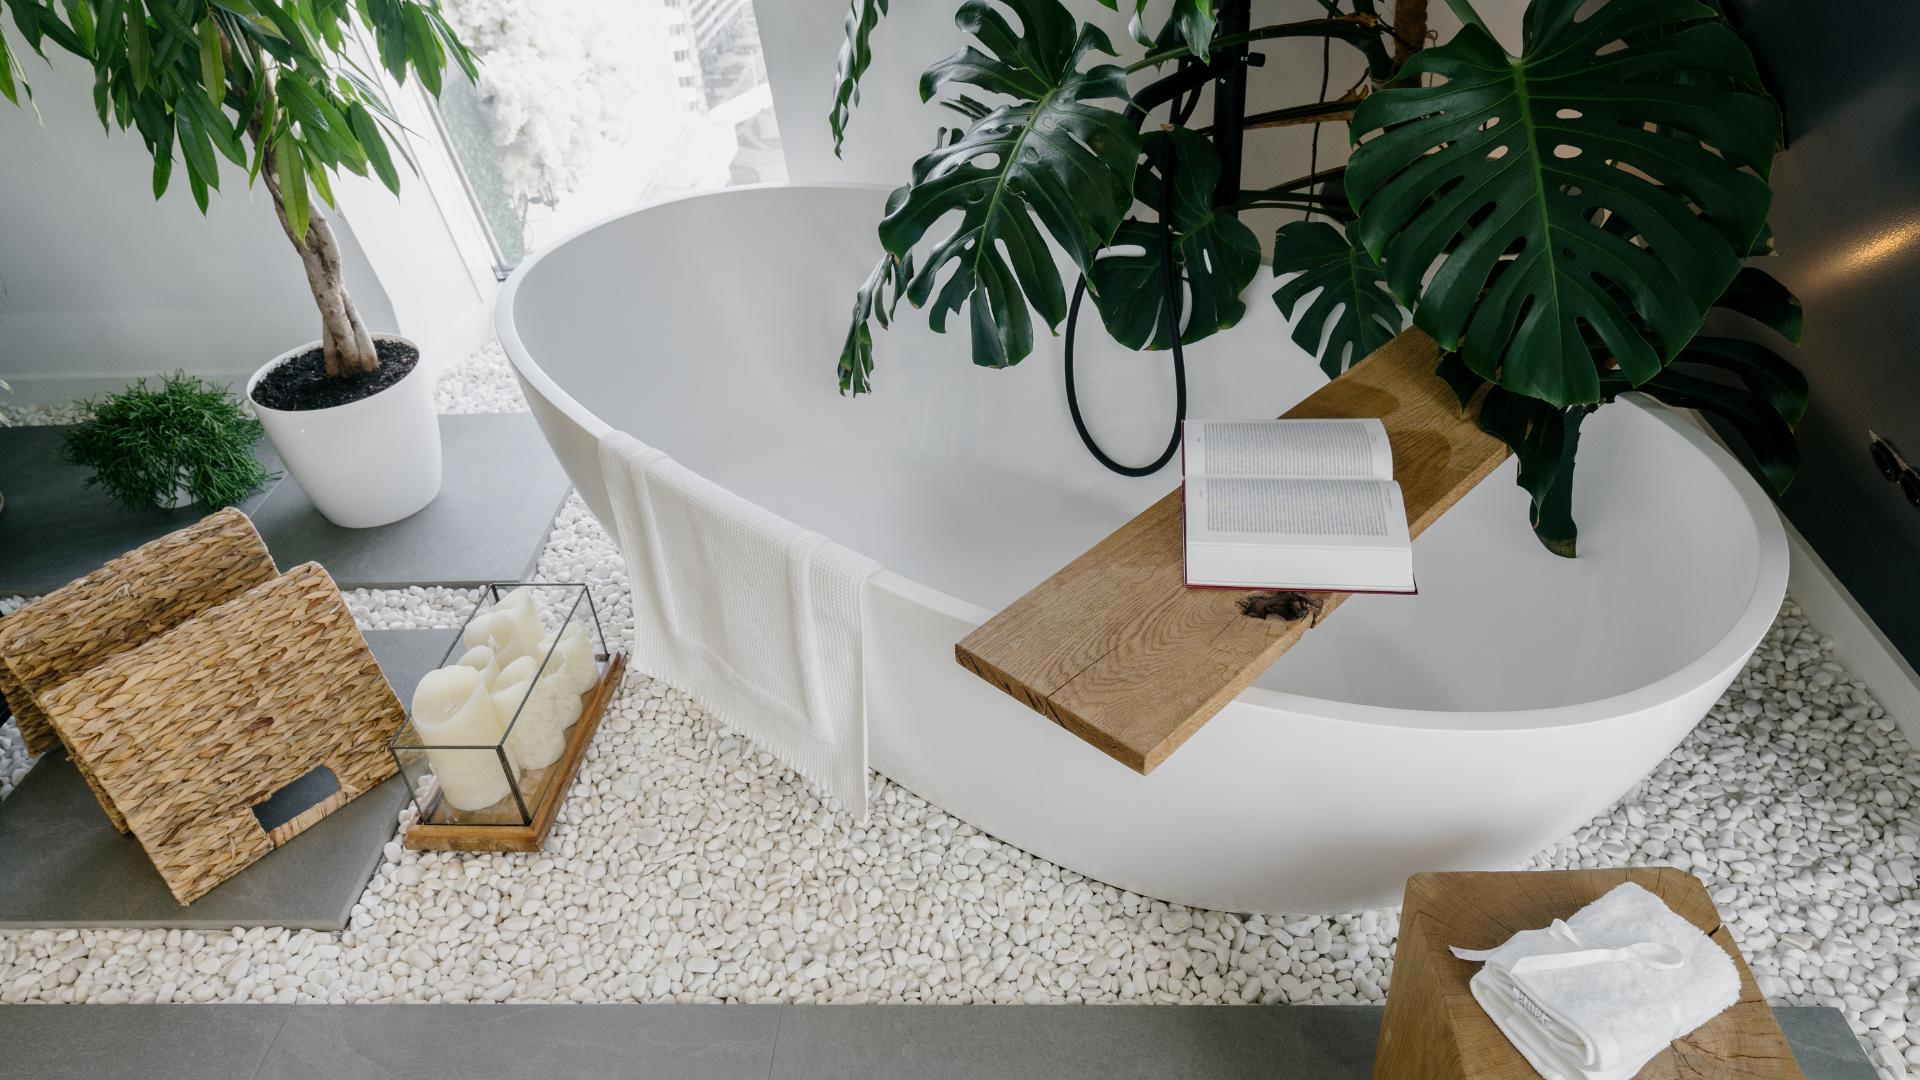
10. Add greenery for a fresh touch
A bathroom is the one room in the flat where humidity is an advantage, and plants that sulk everywhere else often thrive in it.
What works, roughly in order of how hard they are to kill: pothos, which trails off a shelf and tolerates a room with one small window; the snake plant, which asks for almost nothing; the spider plant, cheerful and forgiving; and a stem of bamboo in a glass of water, which needs no compost at all. Aloe vera is the exception to the usual lists, because it wants bright light and dry roots, so it only works in a bathroom with a proper sunny window.
The practical details are what decide whether this lasts past September. Use pots with a waterproof saucer, because a wet ring on a painted shelf shows up within a fortnight. Turn anything on a windowsill regularly so it does not grow lopsided towards the glass. And be honest about the light before buying: a plant slowly dying in a dark corner does less for a room than no plant at all.
The cheapest route is cuttings. Pothos and spider plants both root in a glass of water on the same windowsill, and every plant-owning neighbour on the street has more of them than they want.
Two closing thoughts. Work through this list in order, because paint laid over failing grout is money spent twice. And if it is the floor letting the room down, that is a separate decision with its own trade-offs, which I set out when comparing Quick-Step parquet and Pergo flooring.