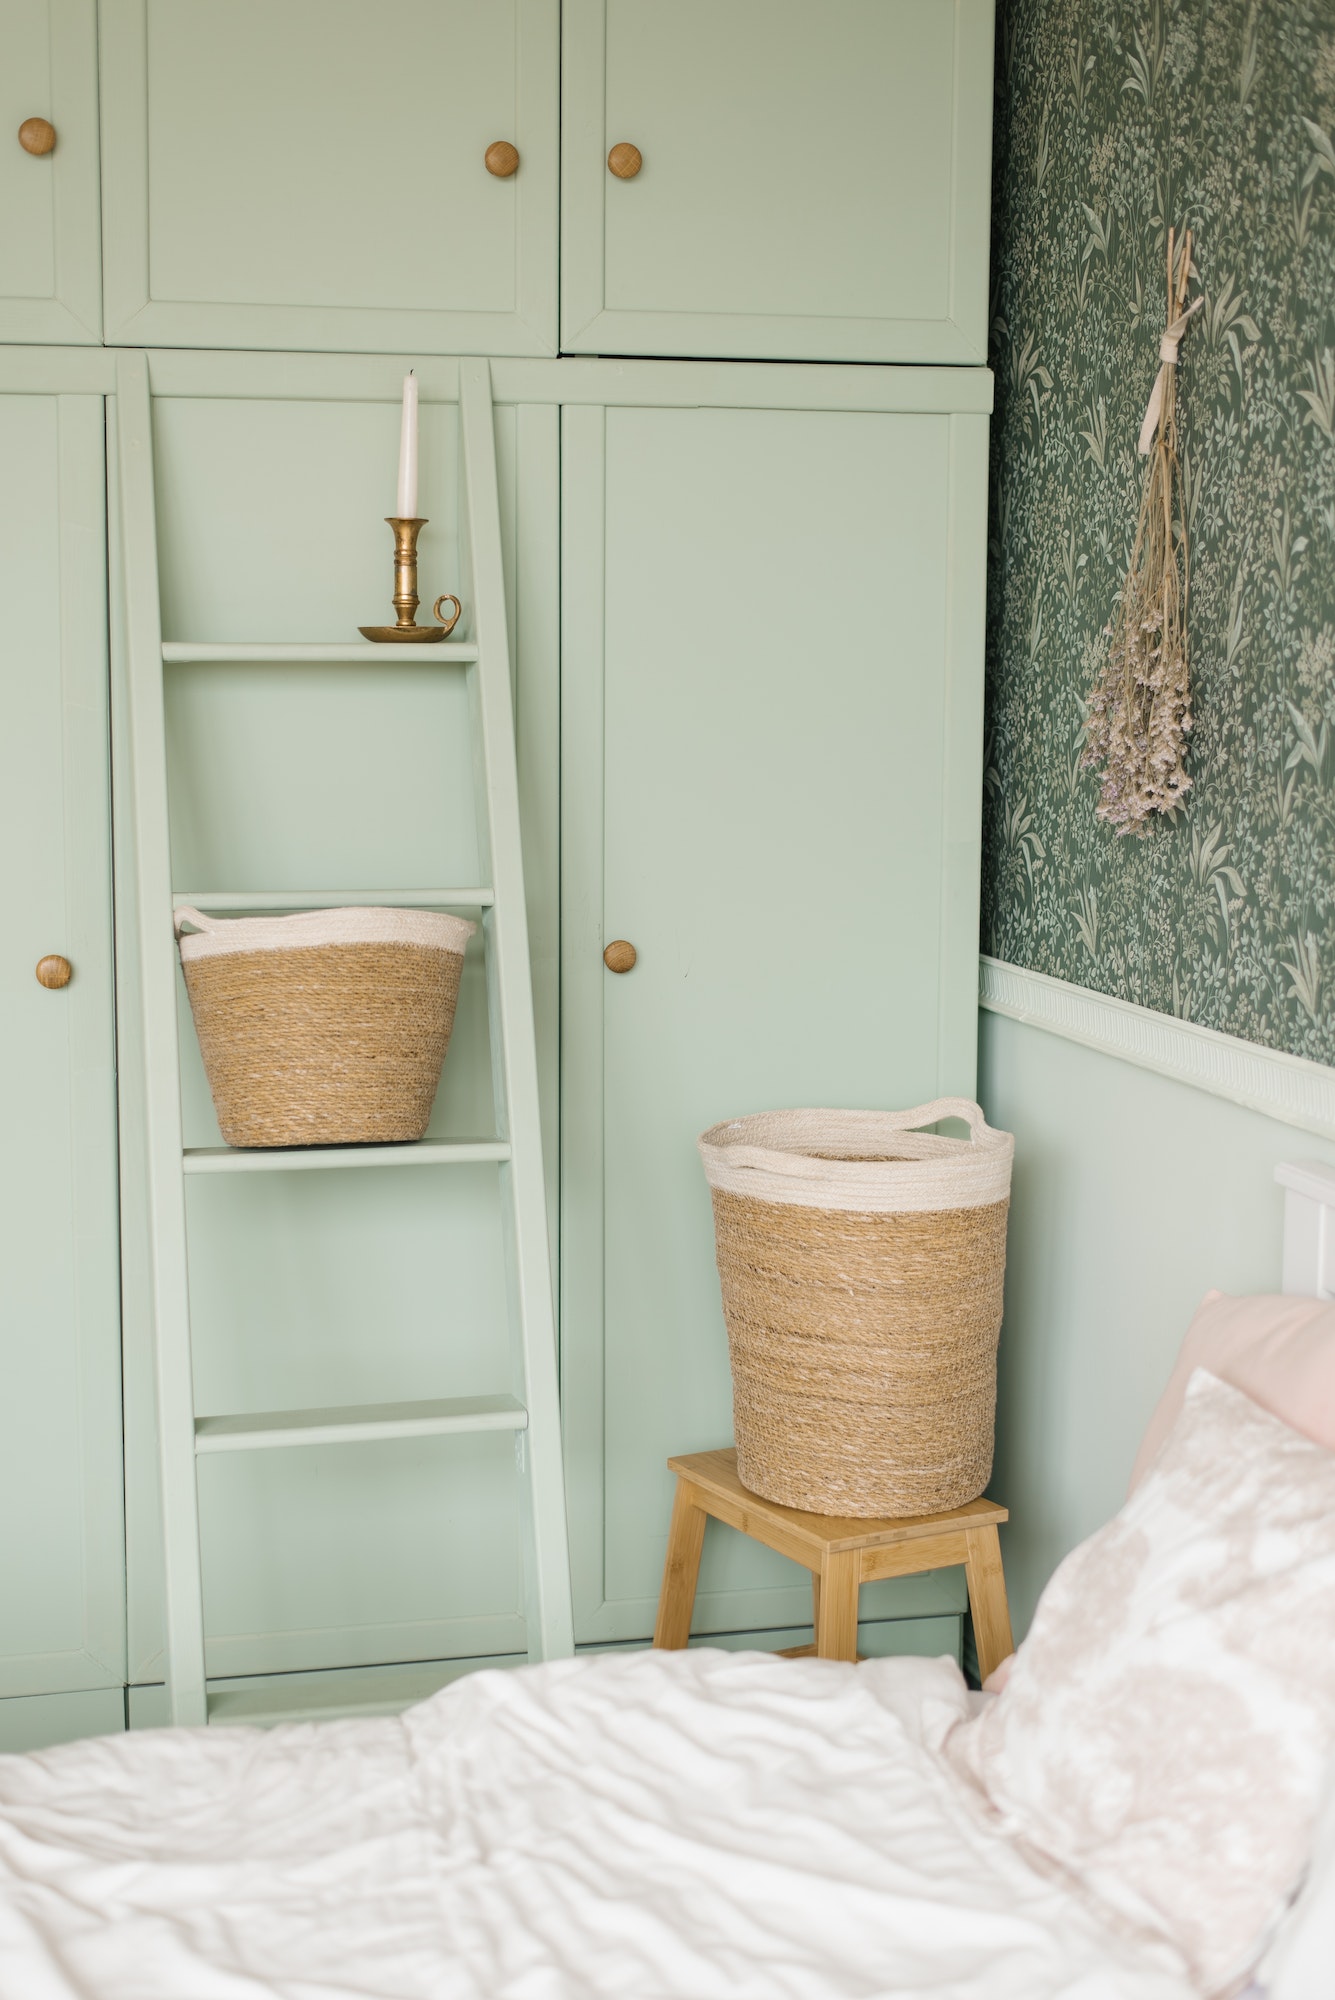
The bedroom is often seen as a sanctuary, a place where we unwind after a long day and recharge for the challenges of the next. One of the essential elements of any bedroom is its storage space – particularly the cupboards. However, outdated or worn-out cupboards can detract from the overall aesthetic of your room. Instead of spending a fortune on replacing them, why not give your bedroom cupboards a fresh new look by refurbishing them yourself?
In this comprehensive guide, we will walk you through the process of revamping your bedroom cupboards, from sanding down the doors to adding decorative moldings and applying a fresh coat of paint. Follow these steps, and you’ll be able to transform your cupboards into exquisite, eye-catching pieces that will breathe new life into your bedroom.
Preparing for the Project
Before diving into the refurbishment process, it’s vital to gather all the necessary materials and tools. Here’s a list of what you’ll need:
- Hardwood half-round (Meranti or a similar wood)
- Miter box
- Sander
- Hammer
- Panel pins
- Screwdrivers
- Pencil
- Tape measure
- Wood filler
- No-nails adhesive (such as Pro Nails glue)
- Enamel paint
- Paint roller and tray
- Masking tape
- Dust mask
With these items at the ready, you can begin the process of transforming your bedroom cupboards.
Step 1: Remove and Sand the Cupboard Doors
First, you will need to remove the doors from their hinges, allowing you to work more comfortably in an outdoor or well-ventilated environment. Once the doors are off, use a sander to smooth down the surfaces, removing any old paint or varnish. Be sure to wear a dust mask while sanding, as the process can generate a significant amount of dust.
Step 2: Measure and Cut Decorative Moldings
To give your cupboards a stylish touch, consider adding decorative moldings to the doors. Start by measuring and marking 30-centimeter sections of your hardwood half-round. This length should allow for a 10-centimeter space on either side of a standard 50×50 centimeter cupboard door.
Using a miter box, carefully cut the wood at 45-degree angles, creating a perfect frame for your molding. You will need to cut four pieces for each door, ensuring they fit together seamlessly.
Step 3: Attach the Moldings
With your moldings cut to size, it’s time to affix them to your cupboard doors. Apply a no-nails adhesive to the back of each molding piece, ensuring you have a few blobs spread evenly along the length.
Attach the moldings to the doors, making sure they are centered and aligned with the pencil markings you made earlier. For added security, use panel pins to further secure the moldings in place. If there’s any excess glue, simply wipe it away with a cloth.
Finally, apply wood filler to any gaps or joints in the moldings, creating a seamless, professional finish.
Step 4: Mask Off Moldings and Paint the Doors
Before painting, you’ll want to protect your newly attached moldings. Use masking tape to cover them, ensuring no paint seeps through and mars their pristine finish.
Next, apply your chosen enamel paint to the cupboard doors using a roller and tray. Enamel paint is an excellent choice for this project, as it provides a durable, easy-to-clean surface that’s resistant to wear and tear.
Once the paint has dried, carefully remove the masking tape from the moldings, revealing a clean, contemporary contrast between the colorful doors and the white moldings.
Step 5: Reattach the Cupboard Doors
With your refurbished doors looking fabulous, all that’s left to do is reattach them to their hinges and admire your handiwork. Your once-drab cupboards should now be a striking feature of your bedroom, adding visual interest and flair to the space.
Refurbishing your bedroom cupboards is a cost-effective way to revitalize your room and make the most of your existing furniture. With a little time, effort, and creativity, you can transform outdated or damaged cupboards into stylish, eye-catching pieces that complement your bedroom’s aesthetic.
Remember, there are countless options when it comes to colors and finishes for your cupboards, so don’t be afraid to experiment and find what works best for you. Whether you opt for a single, bold hue or a more intricate design, the results are sure to impress.
By following this guide, you can give your bedroom cupboards a new lease on life and create a space you’ll be proud to call your sanctuary.

