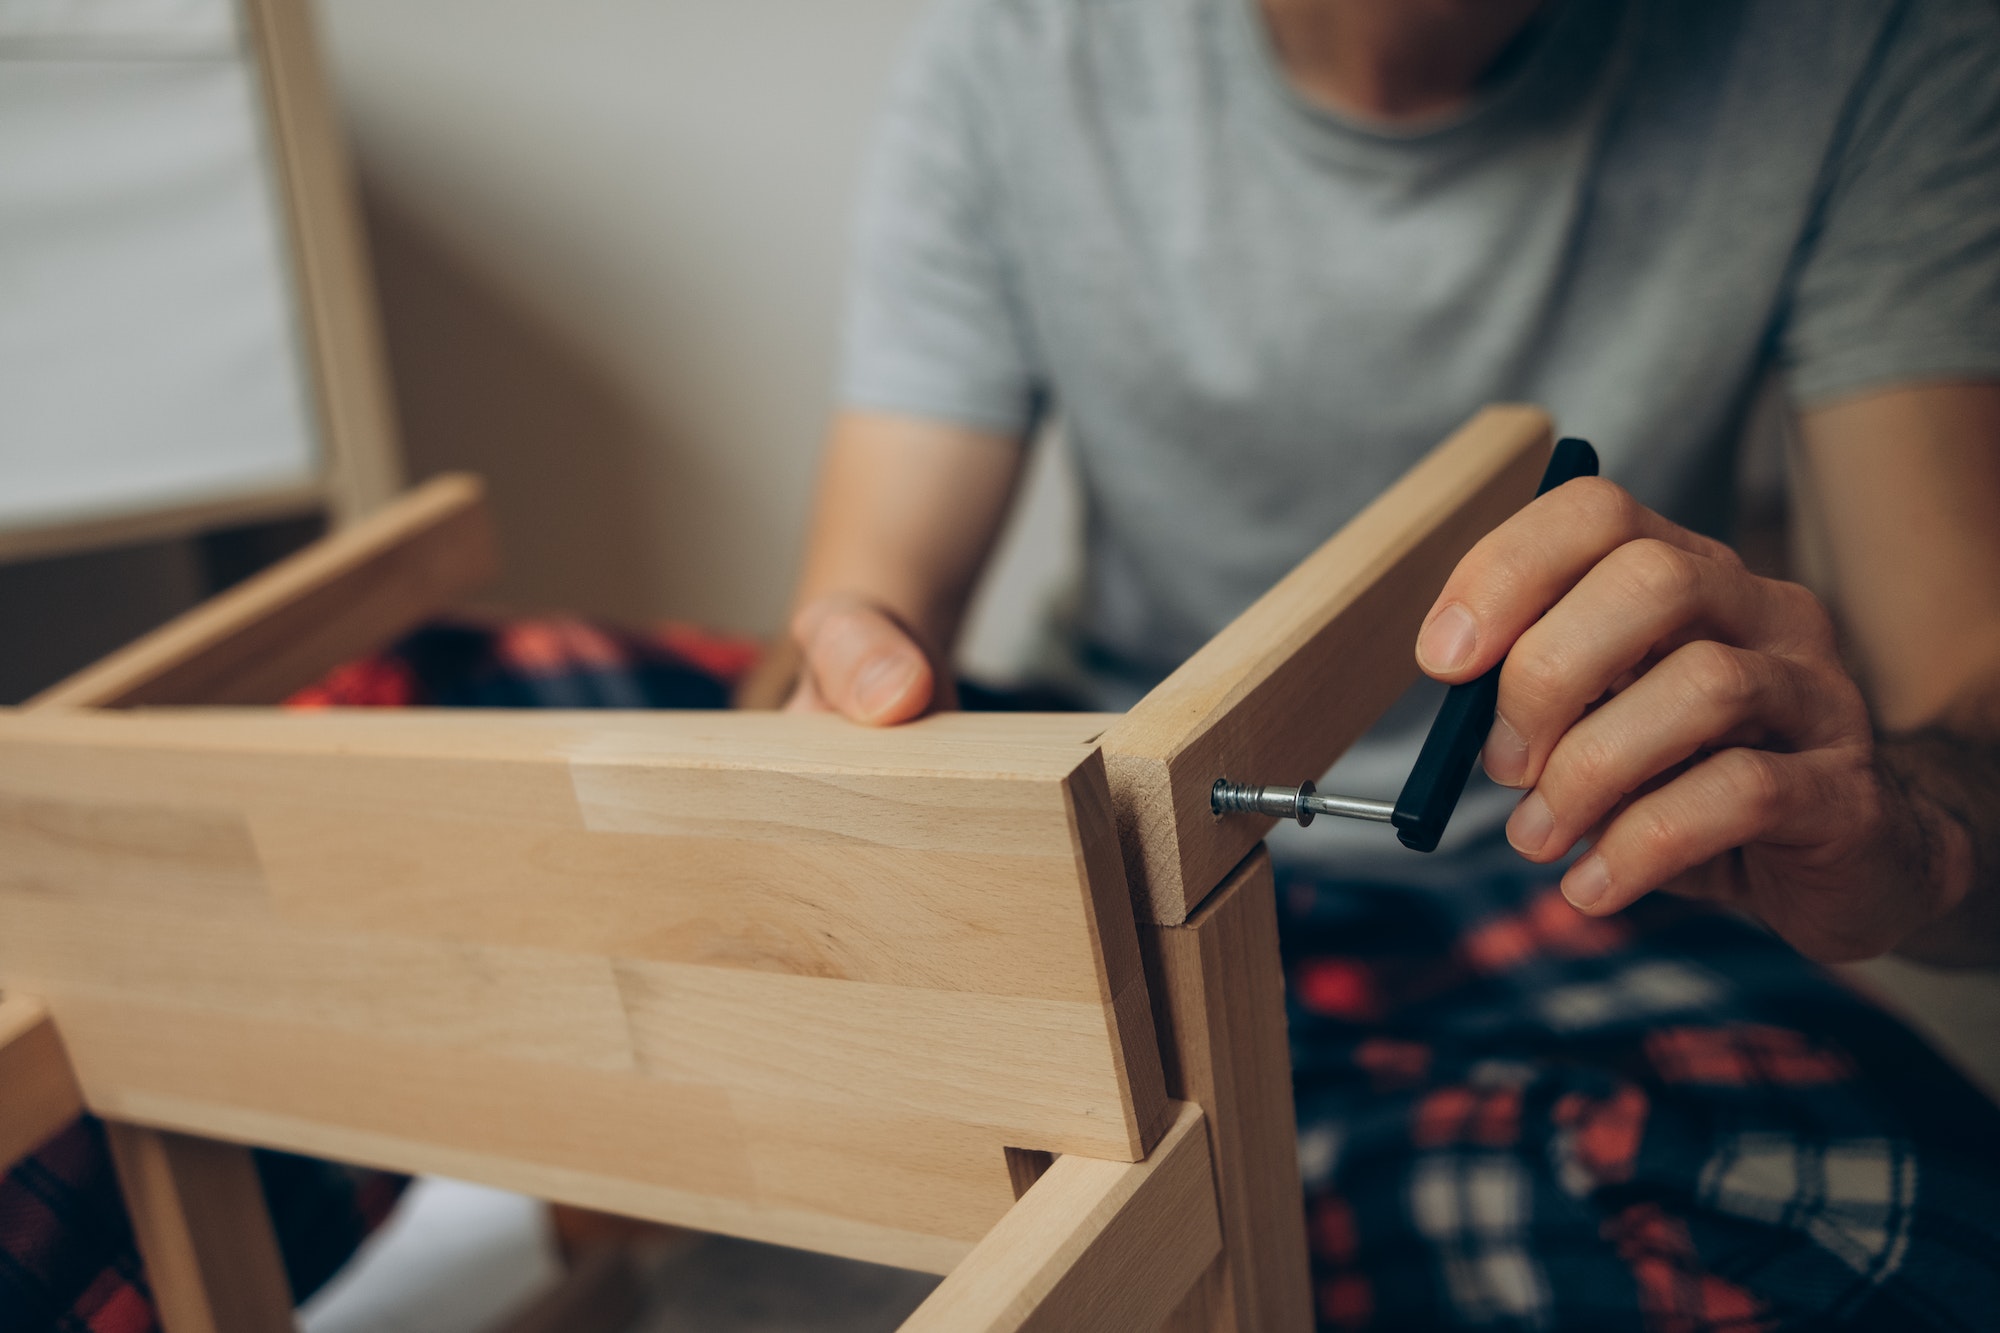
As a DIY enthusiast or someone looking to save some money on furniture, building a wooden piece of furniture yourself can be a rewarding and fulfilling experience. In this in-depth guide, we will walk you through the entire process of creating your own wooden masterpiece, from planning to completion. Whether you’re a novice or experienced woodworker, these tips and techniques will help you produce a functional, well-constructed, and visually appealing piece.
Start with a Purpose and Plan
When setting out to build a wooden piece of furniture, it’s crucial to follow three essential rules:
- Serve a purpose: The furniture should have a clear function, whether it’s a chair, table, or bookcase. The design should be practical and suitable for everyday use.
- Well-constructed: The piece should be sturdy and built with strong joinery techniques to ensure it stands the test of time.
- Aesthetically pleasing: While serving a purpose and being well-constructed are most important, the design should also be visually appealing.
By following these rules, you will create a piece that is not only functional and durable but also pleasing to the eye.
Choose a Design: Plans, Photos, or Sketches
To begin, you can either work with existing plans, use a photo as inspiration, or create your own design from scratch.
Working with Plans
If you’re new to woodworking or prefer a more guided approach, working with detailed plans is an excellent option. Many woodworking magazines, books, and online sources offer plans with step-by-step instructions and diagrams.
Using Photos for Inspiration
If you have a photo of an existing piece of furniture you’d like to recreate, you can use it as a starting point. Analyze the photo to determine dimensions and joinery techniques, then create your own plans using these measurements. Use our standard furniture height guide to help with scaling.
Designing from Scratch
If you’re feeling creative and want to design your own unique piece, start by sketching out your ideas on paper, then refine your design using software like SketchUp or by creating a scale model. This process allows you to fine-tune your design and work out any potential issues before building the full-scale piece.
Select the Right Materials
Once you’ve settled on a design, it’s time to choose the materials for your project. The most common options are solid wood, plywood, and MDF.
Solid Wood
Solid wood is a beautiful and durable choice for furniture but can be more expensive than other materials. When working with solid wood, it’s essential to account for wood movement due to changes in humidity levels. Proper joinery techniques and hardware selection will help ensure your piece remains stable and functional.
Plywood
Plywood is an affordable alternative to solid wood, consisting of thin layers of wood veneer glued together. It’s more stable than solid wood and is well-suited for large pieces. However, plywood’s exposed edges may require a veneer or edge banding to achieve a finished look.
MDF (Medium Density Fiberboard)
MDF is another affordable option, made of fine wood particles and glue. It’s easy to cut and shape but is significantly heavier than plywood and has weaker holding properties for fasteners. MDF is best suited for smaller projects or painted pieces where its smooth surface is advantageous.
Joinery Techniques and Hardware
As you move forward with your project, consider the different joinery techniques and hardware required to ensure a well-constructed piece. Some common joinery methods include:
- Mortise and tenon: This strong joint is created by fitting a tenon (a projecting piece of wood) into a corresponding mortise (a cavity in another piece of wood). Mortise and tenon joints are commonly used in furniture construction for attaching legs to aprons or rails.
- Dovetail: Used primarily for connecting the sides of a drawer to the front and back, dovetail joints are known for their strength and resistance to being pulled apart.
- Pocket-hole: A pocket-hole joint involves drilling an angled hole into one piece of wood and attaching it to another piece using a screw.
When dealing with wood movement, it’s important to select the right hardware. Drawer glides, hinges, and other hardware should be compatible with your chosen materials and design to ensure proper functionality.
Construction and Assembly
With your design, materials, and joinery techniques in place, it’s time to build your wooden piece of furniture. Follow these essential steps:
- Cut and shape your materials: Use a table saw, miter saw, or hand tools to cut and shape each component of your piece.
- Create joinery: Execute the joinery techniques you’ve chosen, ensuring each joint fits snugly.
- Dry-fit: Assemble your piece without glue to make sure all components fit correctly and make any necessary adjustments.
- Sand and finish: Sand all surfaces smooth, then apply a finish or paint to protect the wood and enhance its appearance.
- Assemble: Glue and clamp your piece together, then attach any hardware.
Final Thoughts
Building a wooden piece of furniture yourself can be an enjoyable and rewarding experience. By following these guidelines, you can create a functional, well-constructed, and attractive piece that will serve you for years to come. Whether you’re a beginner or an experienced woodworker, take your time, be patient, and enjoy the process of bringing your design to life.


